Hull and Fuel Tank Damage
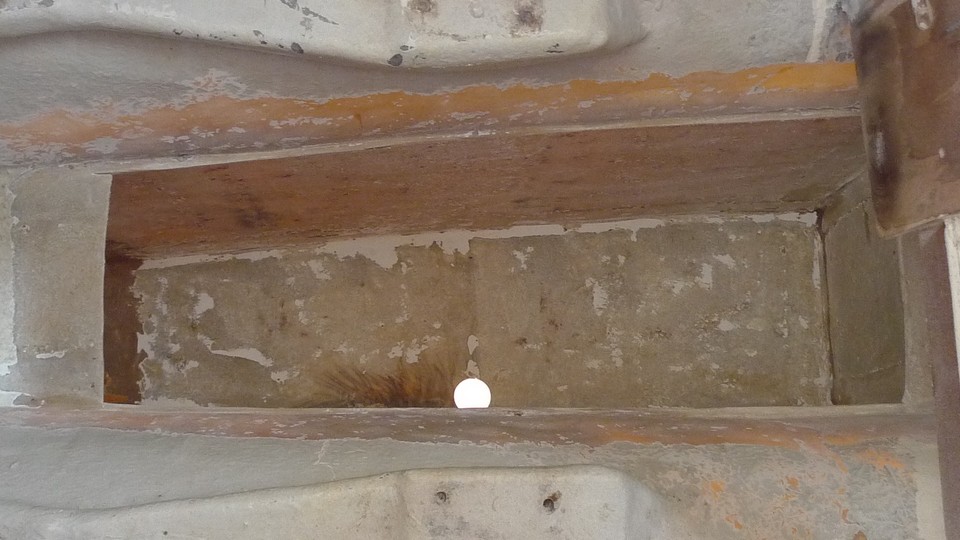
I knew before purchase that there was a problem with the hull. There was a wet look to an area at the bottom of the keel. It turns out the boat was probably dropped at one point, by a wave or during transport. The impact pushed the keel bottom upward cracking the concrete filler and pushing the filler up into the FRP fuel tank and separating it from the side of the hull. The impact also separated a fuel baffel from the hull side (which is also the tank side).
.jpg)
Diagram of damage to hull and fuel tank. (above) I plan to cut out two baffles and laminate a new tank section out of epoxy and fiberglass. The inside of the tank is fairly clean and looks like it will give a nice surface for the new laminate to grip. I will grind with 36 grit snadpapter to give it an even better grip and then apply 4 or 5 layers of fiberglass.
Fuel Tank Repair
I spent about an hour grinding the inside of the fuel tank with 24 and 36 grit using a 4.5 inch disc sander. Very hot and dusty. Had my tyveck suit on and full face mask repirator for protection. My long sleeves pulled up a bit and I got a painful dose of fiberglass shards in my arm. It cleaned up pretty good and I think I will get a very good bond between the old and new fiberglass. I can clearly see the cracked fiberglass along the bottom of the tank. Pic below.
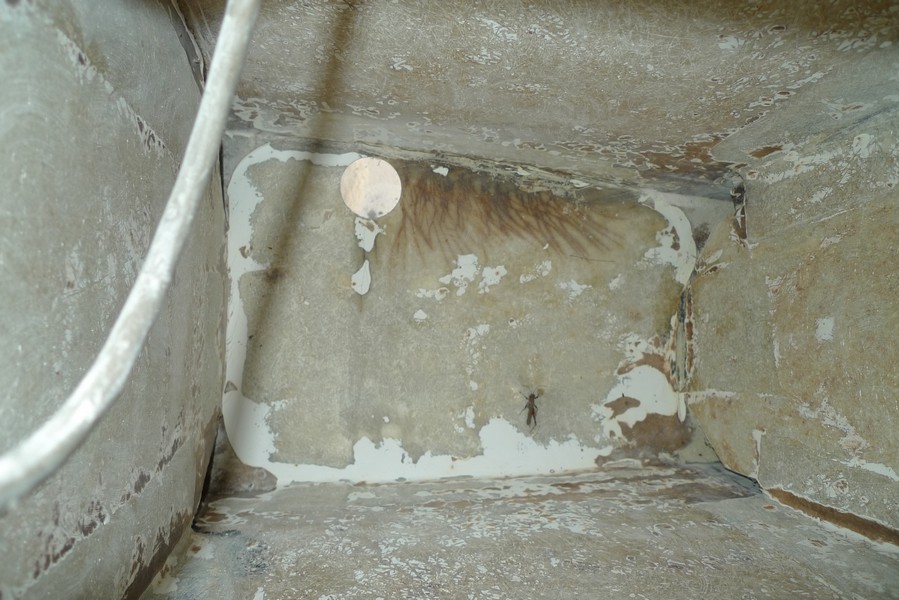
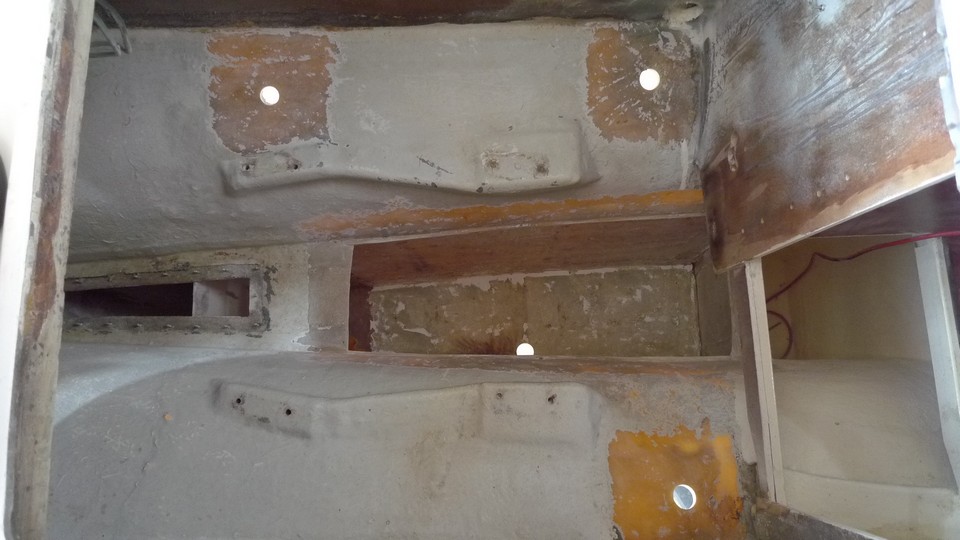
You can see the many cracks in the tank laminate. The fractures are darker from diesel seeping into the laminate.
I previously thought the damage to the fuel tank was contained between two tank baffles in one compartment, but after a closer look, I realized that it goes into two more compartments. This really complicates things. Now I will cut the top off the fuel tank and cut out two baffles. This is probably the best way to solve this problem and I am happy I am doing it. Cutting the top off will give me more room to work, will allow me to see all the damage and fix the problem correclty. I used a 4 inch rotary grinder with a diamond blade attached. It took about 30 minutes. Pics below.
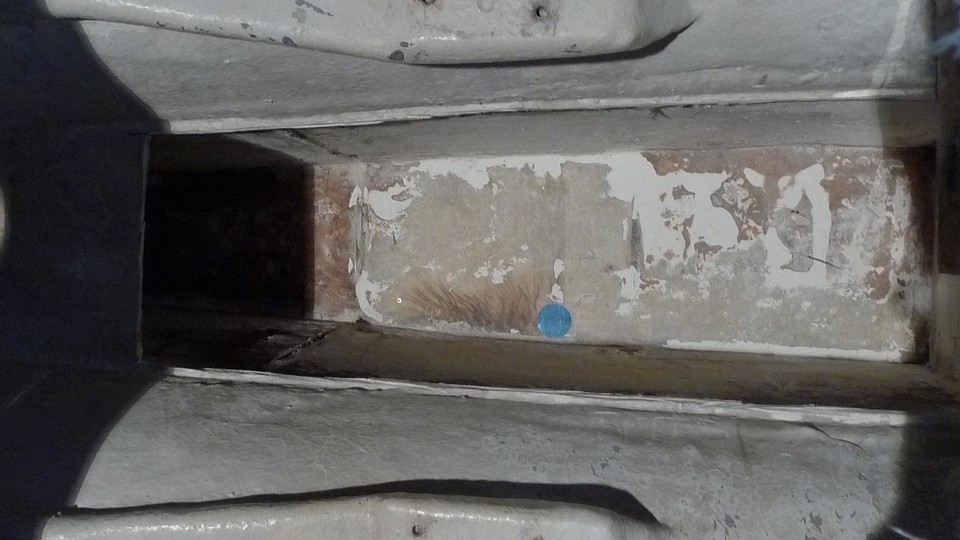
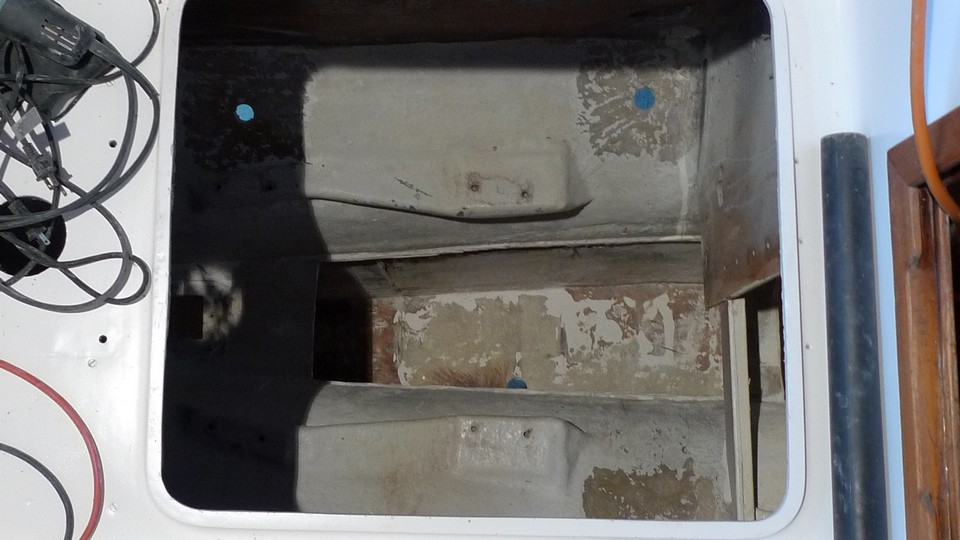
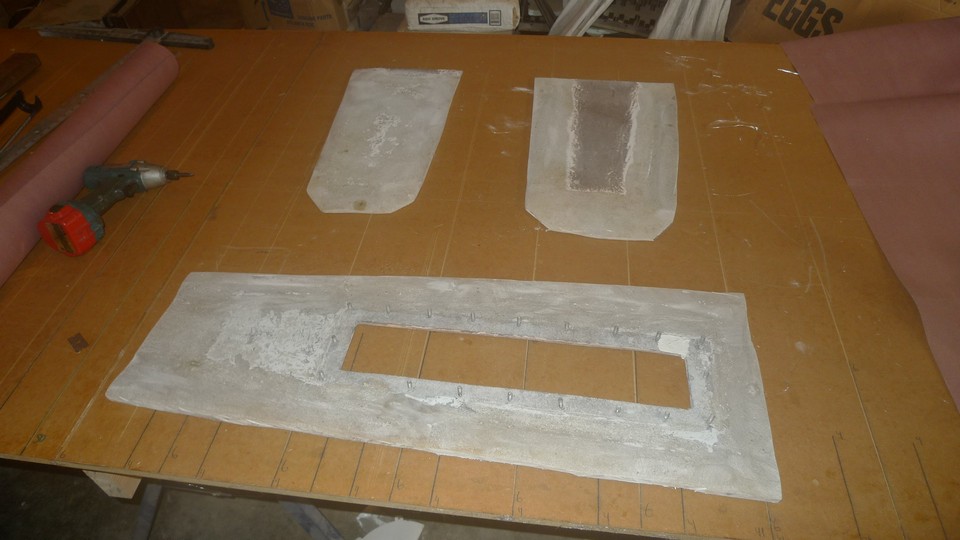
I finished grinding out most of the gelcoat inside the fuel tank. Looks like the gelcoat is a good barrier to diesel. I could see very little, if any, diesel absorption into the laminate underneath the gelcoat, except where the laminate was cracked. Then it looks like the diesel can run laterally through the laminate a saturate the laminate. I say this because where the laminate is cracked, there is a brown stain throughout the laminate. I am assuming this is from the diesel. Pics below of the prepped fuel tank and of the baffles and tank top that I cut out with a 4 inch grinder with a diamond blade.
9/11/2010 Fuel Tank Repair
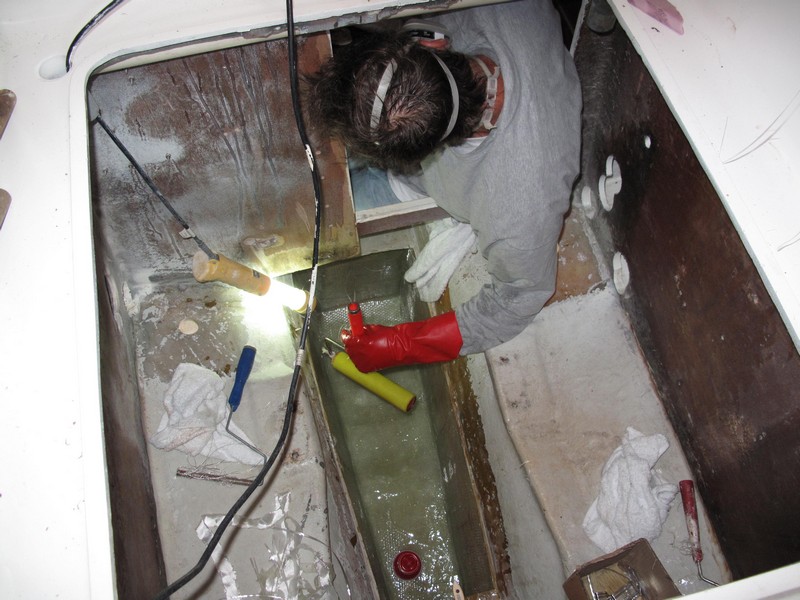
I had precut my fiberglass, organized the work area, called a friend, and was up and ready to work at 7 am. It took 11 hours of work to get the tank back in pretty good shape. I layed down 6 oz. glass along the bend on the bottom on both sides of the tank. Started with 1 inch tape and worked it up the 12 inch tape. That took 15 layers. Then I went to 18 oz roving and tried to lay 41x50 inch pieces. I quickly found that I couldn't lay it down nice, it was to large to handle, so I cut them down to 20x16 inch pieces and staggered. That worked much better. I put on about 6 layers on bottom and up the side half way. I lay 2 layers of roving the rest of the way to the top of the tank. I then placed the baffles back in place, placing them on a piece of foam to lift them up off the bottom 1/4 inch and placed a foam piece on each side to jam it in place. I then bonded the baffles in place using 6 inch wide tape. I used epoxy on all the lay up. The worst part was keeping the sweat from dripping in the work and the very uncomfortable position I was in for such a long period. Pics below.
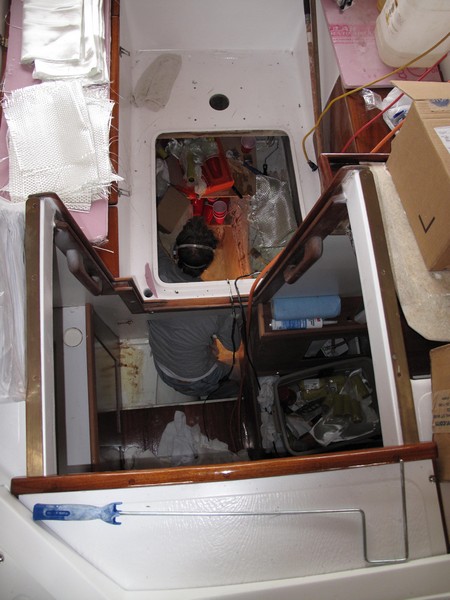
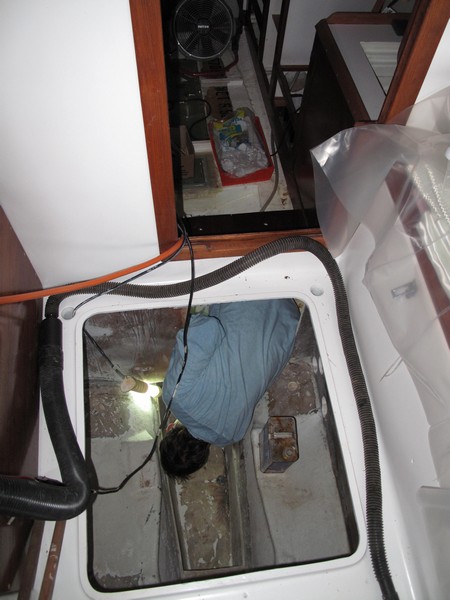
Standing in the bilge, contorting my body thru the hatch and leaning over the fuel tank, I start the tank repair.
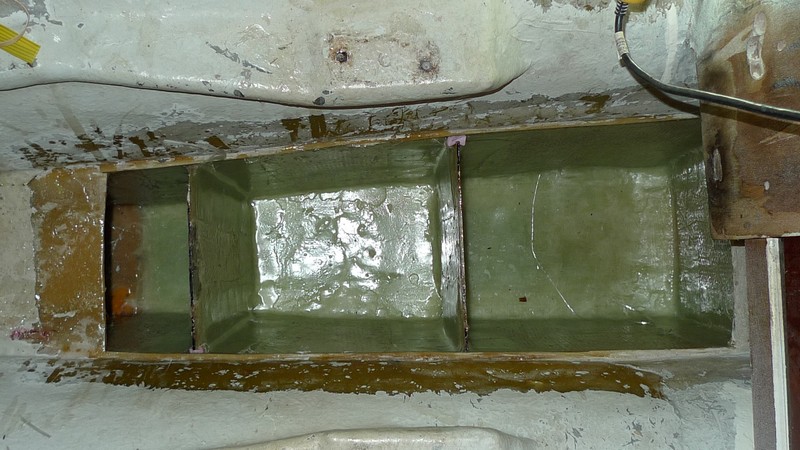
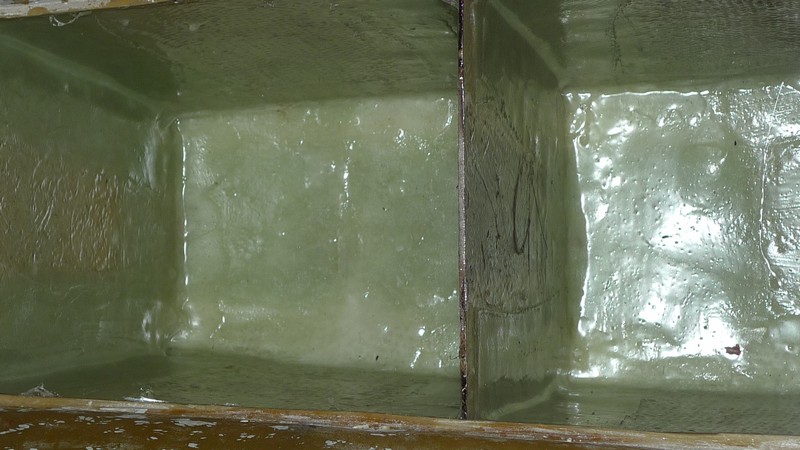
Final product with baffles taped in place. If this doesn't work, well I don't know what would. All I lack now is taping the top back on.