
Assembling Cockpit(1-15-2010)
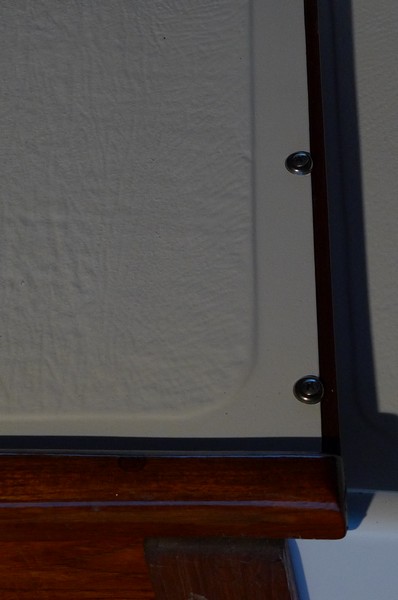
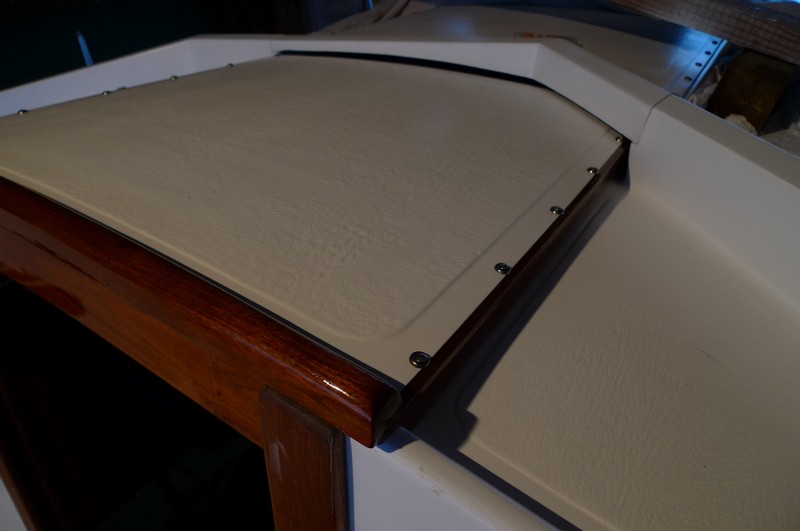
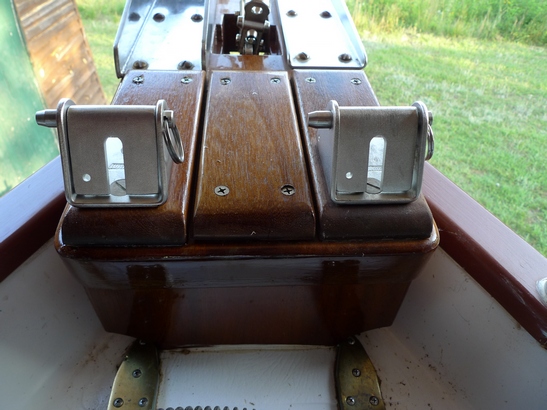
Putting main sliding cockpit hatch together(above and below).
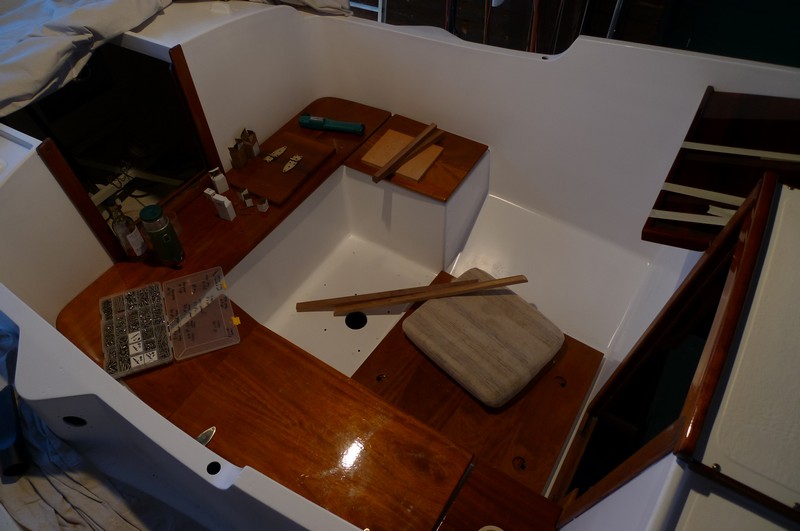
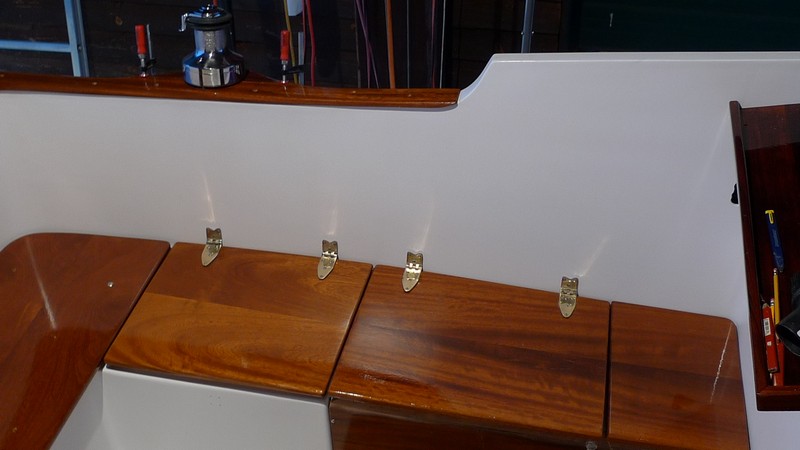
Using SS carriage bolts to bolt down teak seat boards. I placed 3/4 inch thick spacers under boards to allow for air flow.
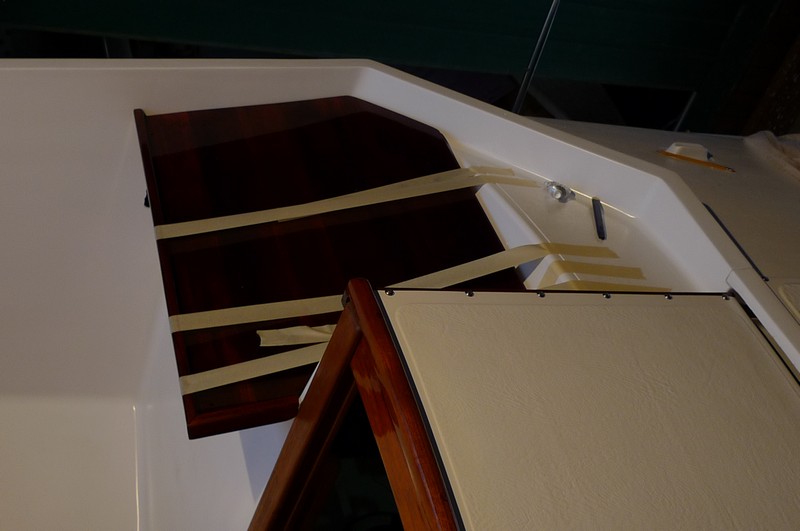
Used 3M 5200 polyurathane caulk to glue dashboard. I used 1/4 inch thick teak slats to lift board off the hull to allow for air space under so it can dry out from spray. That is how it was done at the factory.
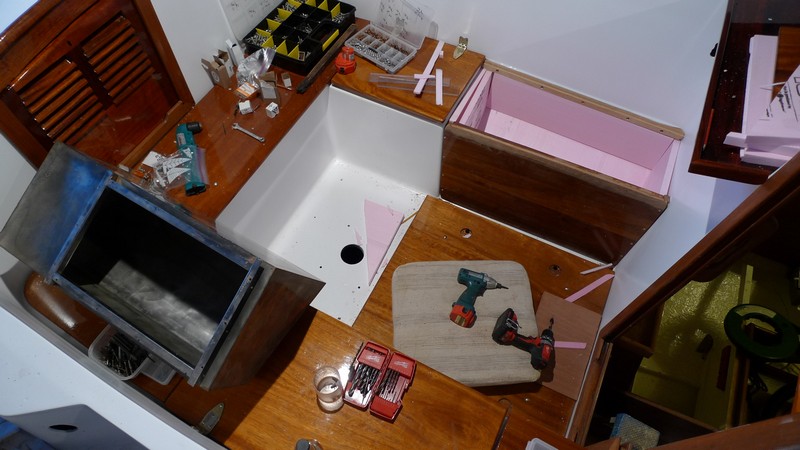
I have the pink styrofoam in place getting ready to install SS icebox in cockpit.(above)
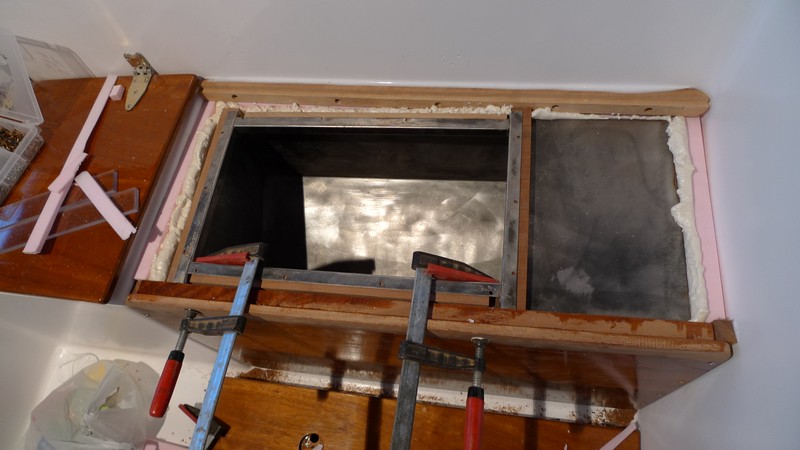
SS icechest is in place and I have used expanding foam to secure it in place and fill gaps.(above)
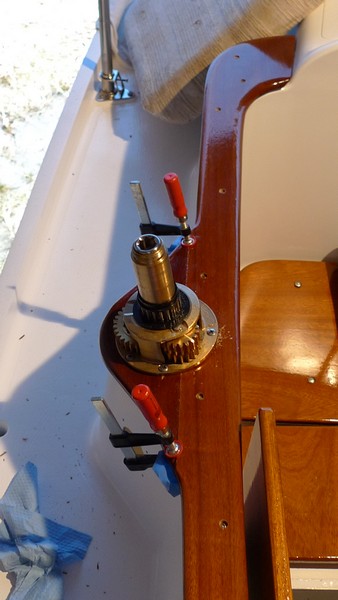
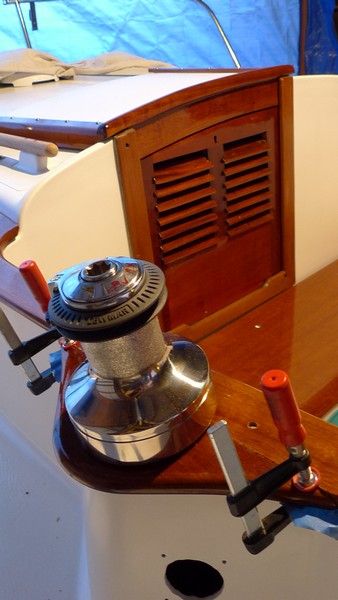
Mounted coaming trim and Lewmar #40 SS winch.(above)
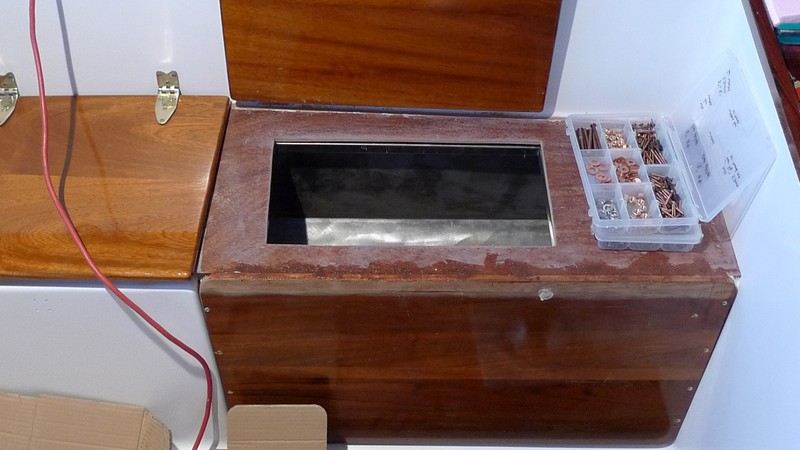
Added 3/8 inch thick ply top to SS icechest. Ready for beer, people! (above/below)
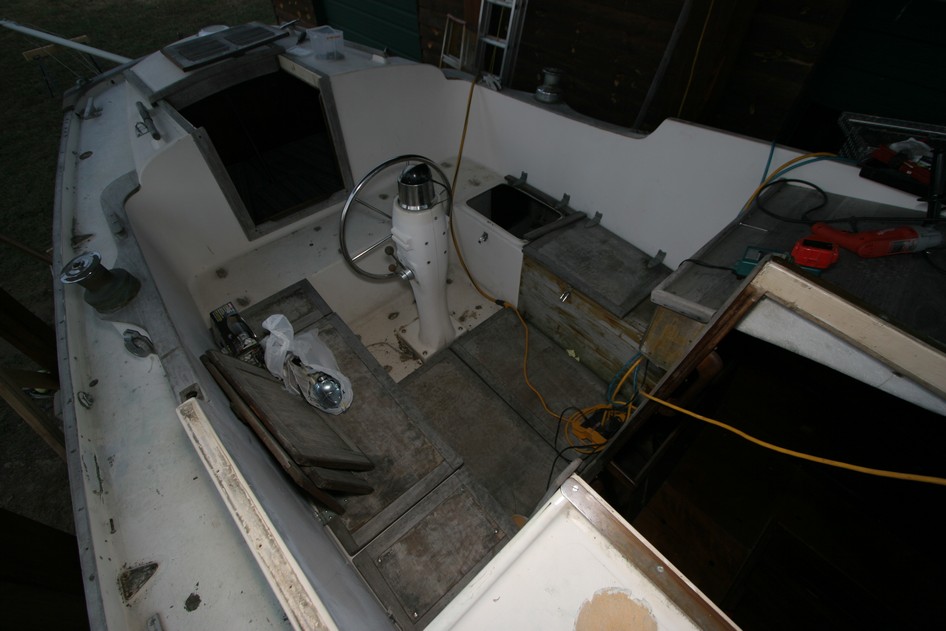
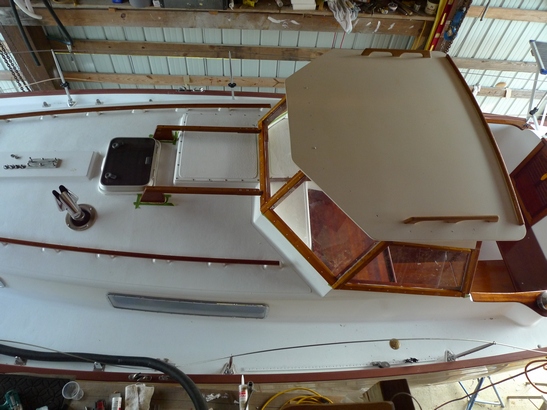
Overall look at cockpit at this stage in the restoration. (above)
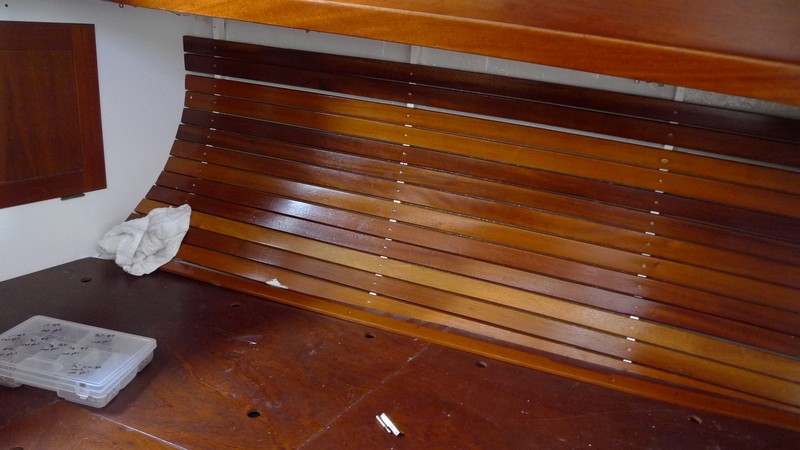
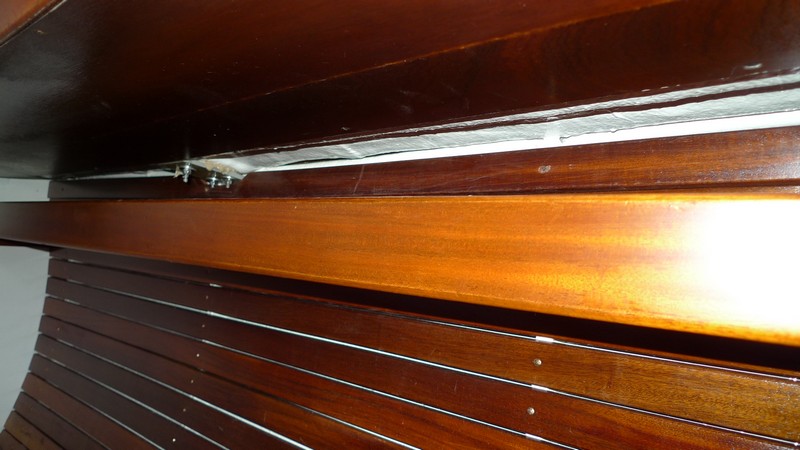
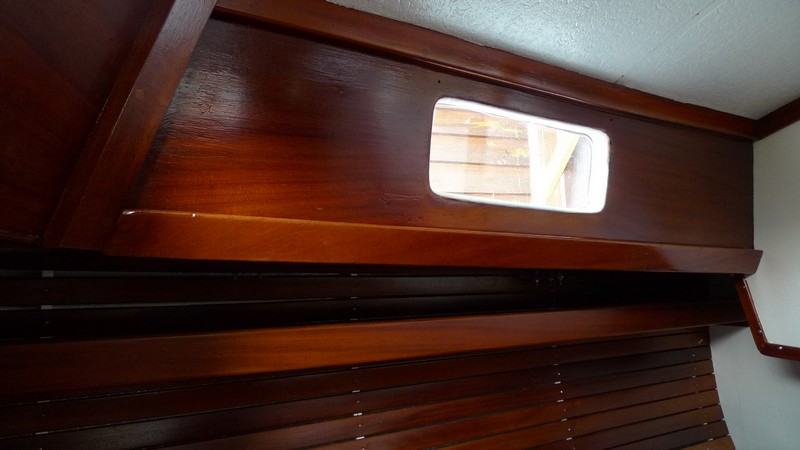
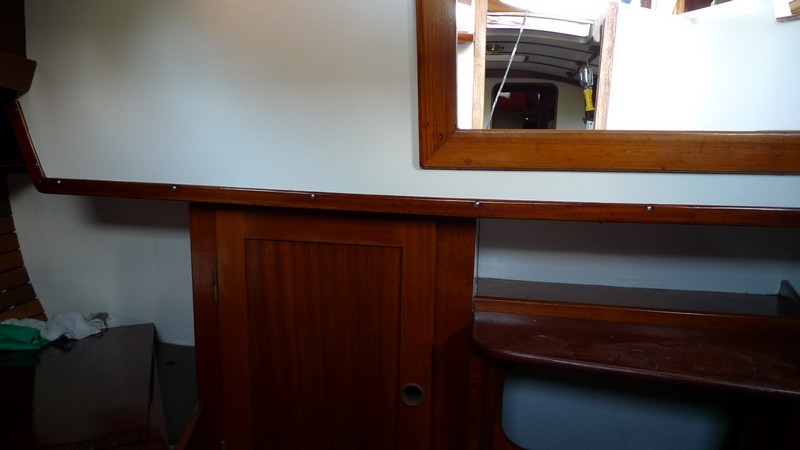
9/17/2010 Assembling Aft Cabin: I am starting to put back the boat one section at a time. At this point, that is the only way I can wrap my brain around the enormity of it all. I am starting in the aft cabin, and will work my way forward. Below are pics of the mahogany slats and doors I have screwed back in place.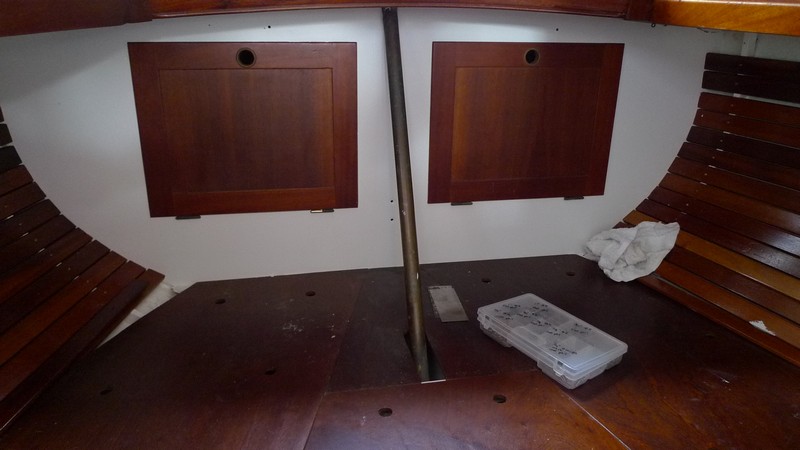
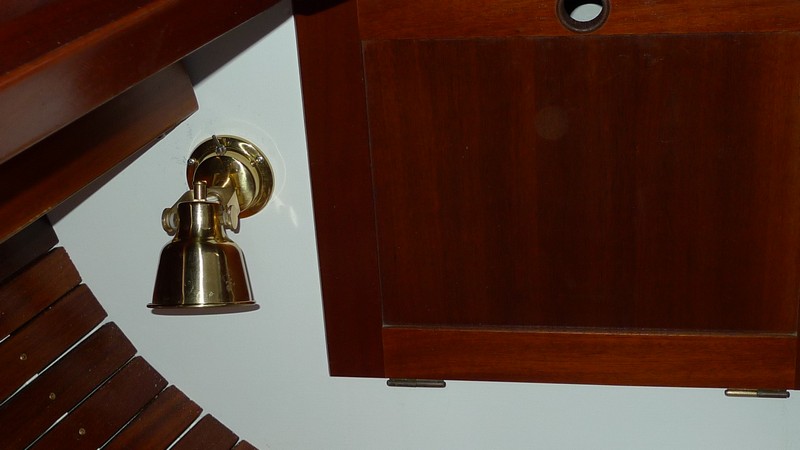
9/21/2010 Assembling Aft Cabin I have varnished and installed the two shelves that go in the aft cabin. I have also installed a reading light. I lack another reading light and two fans and the aft cabin will be finished. Pics below:
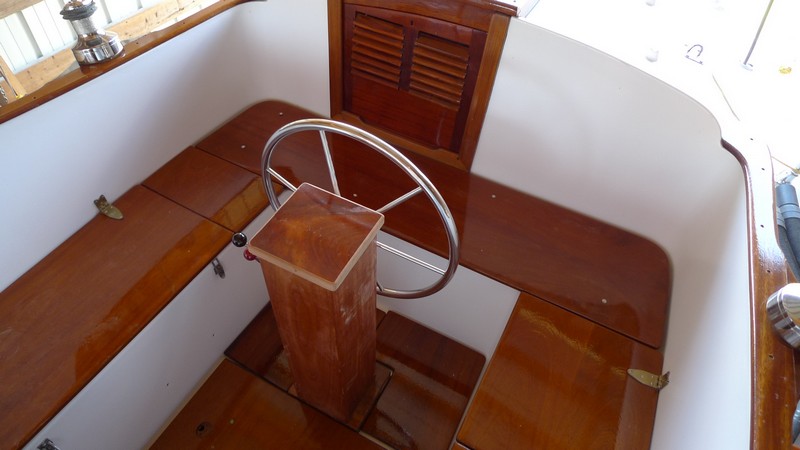
Assembling: Steering Wheel Pedestal
It took all day today to mill and fit the steering wheel pedestal. It is made of teak, African Mahogany, and Cherry. I had to fit the old Vetus hydraulic pump and the new engine controllers in the new pedestal. It took a bit more work than I had planned, but I think the design is good. I made it so if I have to replace the pump, I can do it without tearing apart major parts for the refit. Pics below:
Before
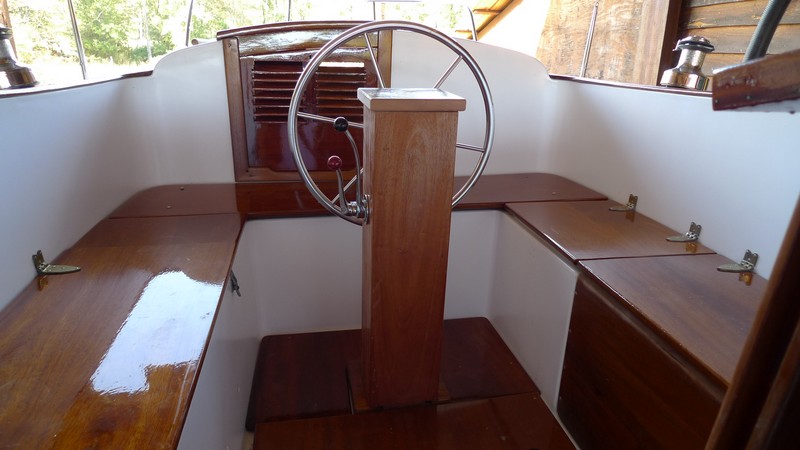
After

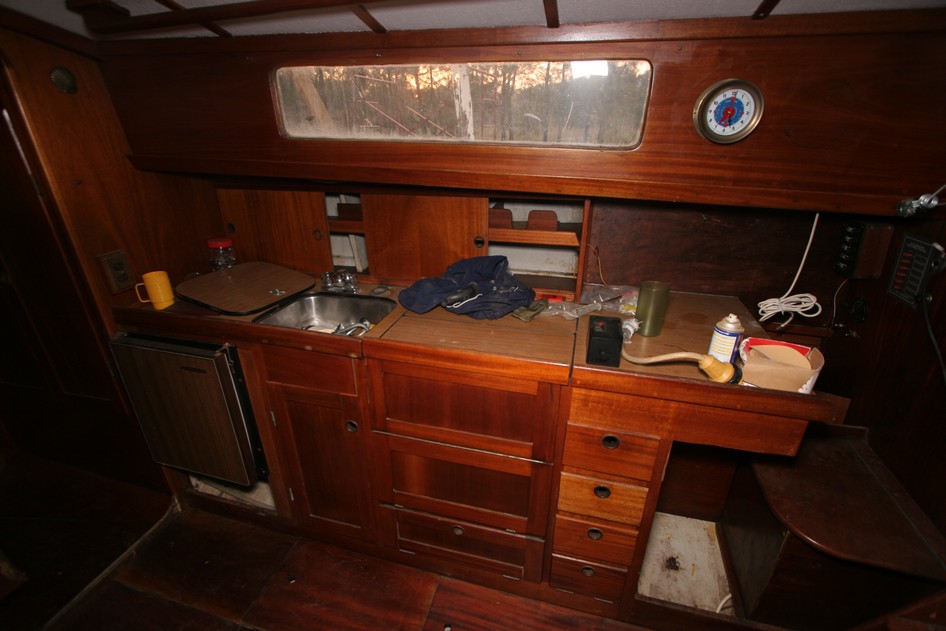
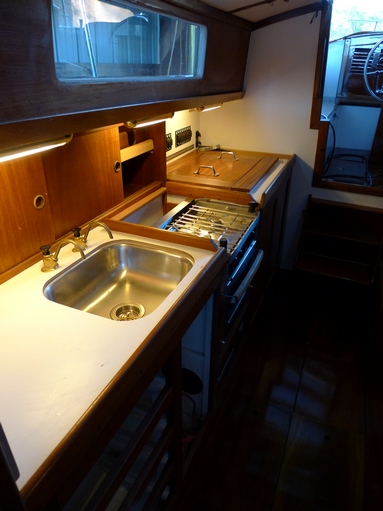
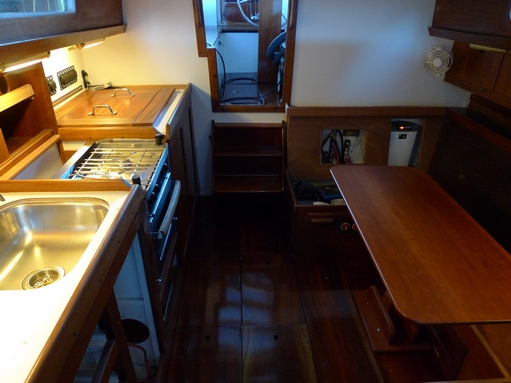
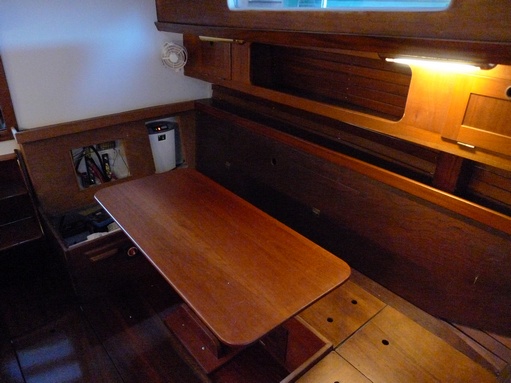
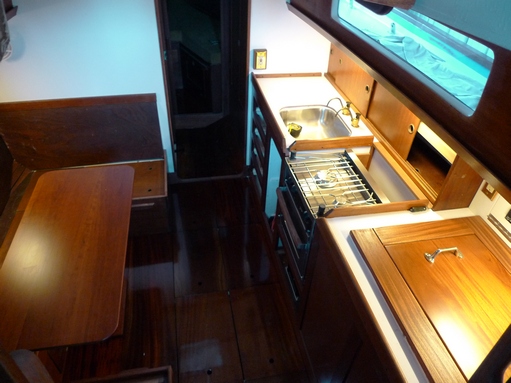
Assembling: Galley
I have finished the refrigerator and it worked first try. Hurray! I have installed the Force 10 stove and installed the uppper cabinet shelves and door. I will probably make a new table top and base early next week. So, at this point I am close to getting the cabin area back together. Pics below:
Before
After
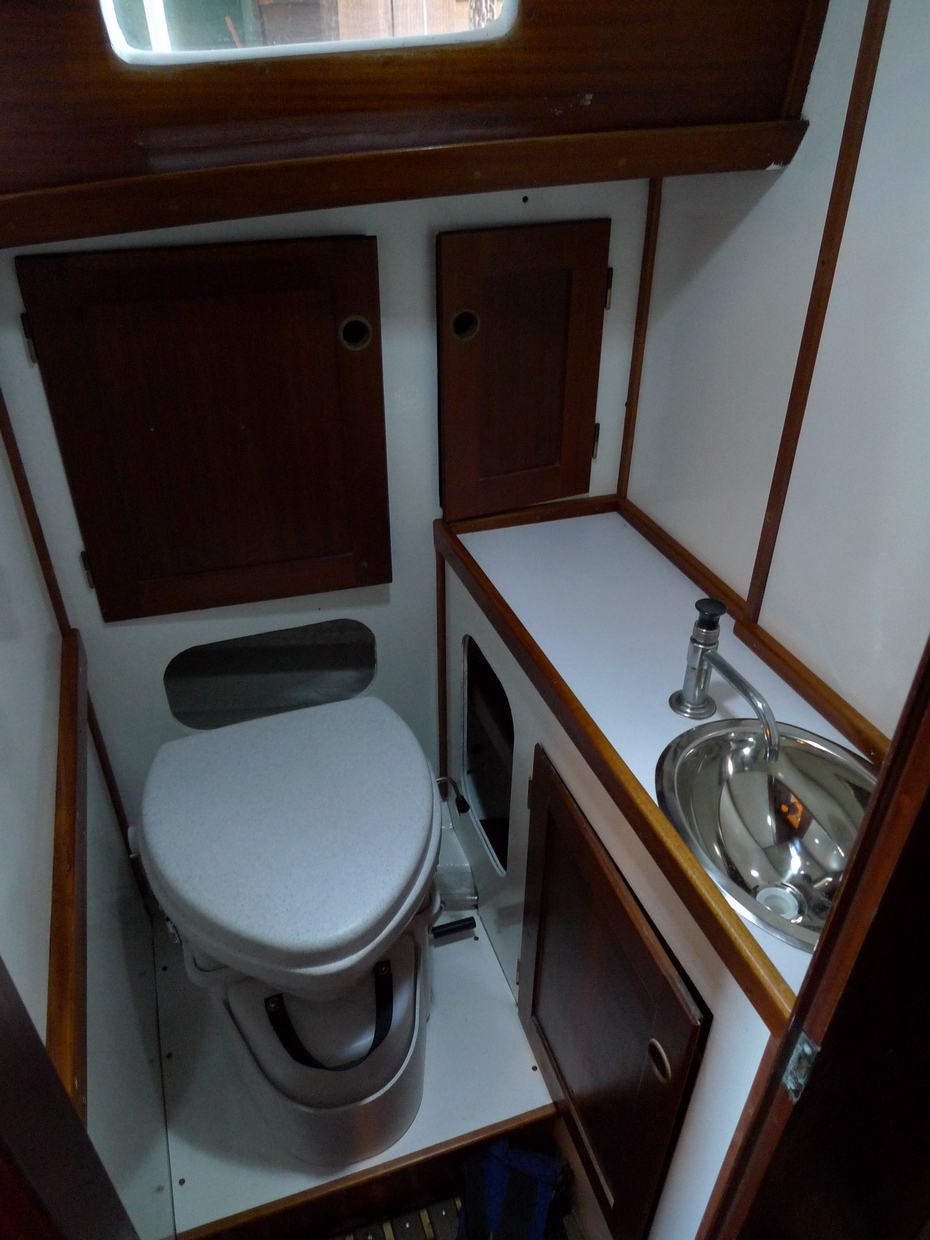
Assembly: Head is Nearing Completion
I have the head nearly completed. Installed the sink, freshwater spigot, and drain lines. Pic below:

New sink installed and old original spigot recycled.
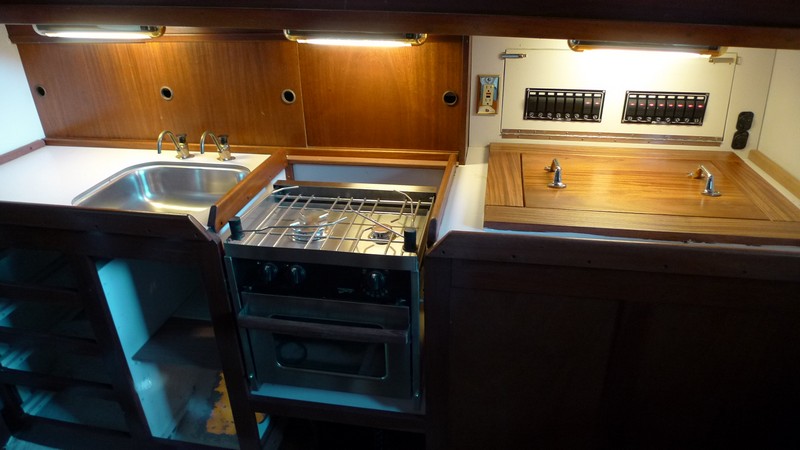
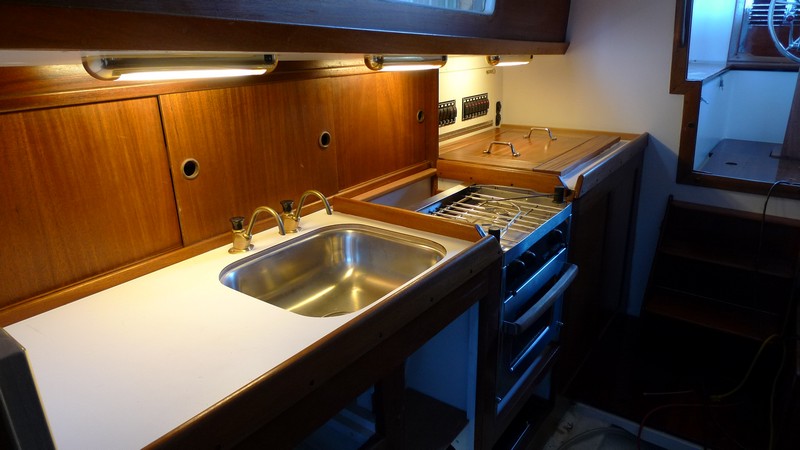
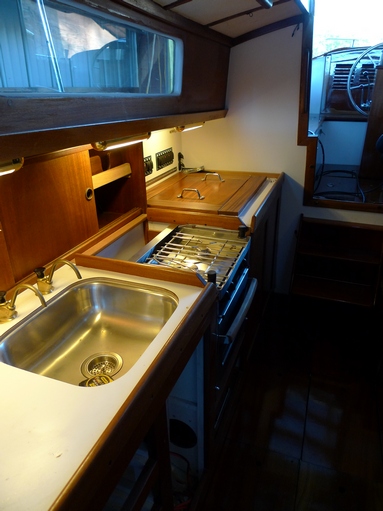
Assembly: Galley Area
Below are pictures of the Galley at this stage.
Assembling: Anchor Platform, Pushpit, Nav lights, stemhead fitting, lifelines
I spent the week installing the anchor platform, attaching rollers, installing pushpit and nav lights, stemhead fitting and lifelines. Anyone who has looked over previous entrys will notice that I have built another anchor platform and incorporated windline and ABI anchor rollers. I can mount a delta and fortress anchor on the platform. I am going to run the anchor chain down under the forward birth and store another rope rode in the anchor locker. That will require the least amount of adjustments to the boat. I can always adjust later as I see what I like and dont like. Pics below:
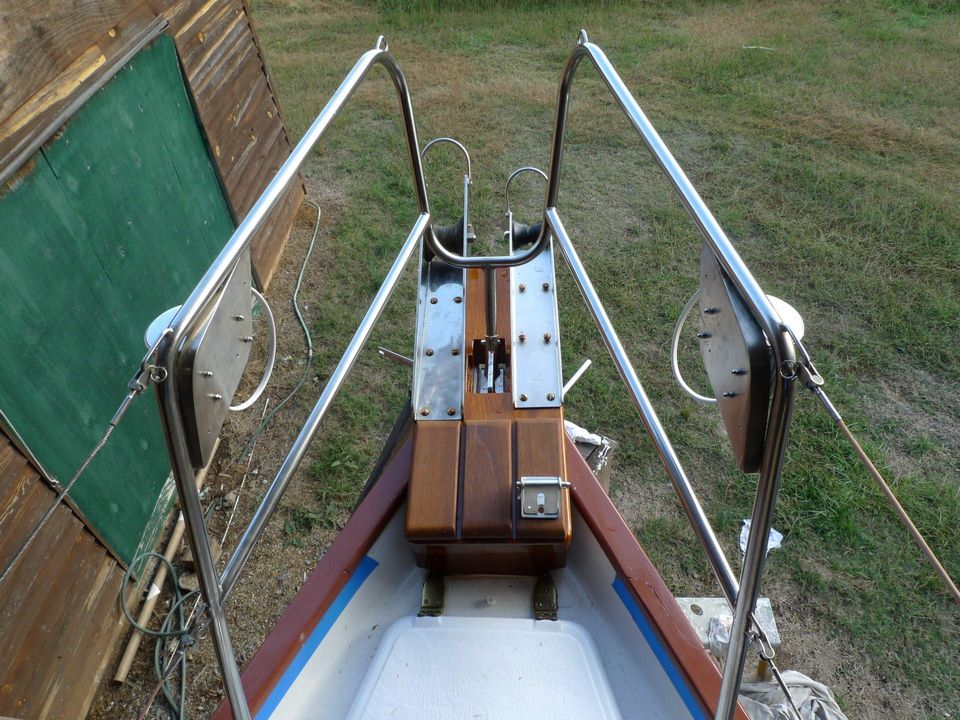
View of the pushpit, anchor platform and rollers.
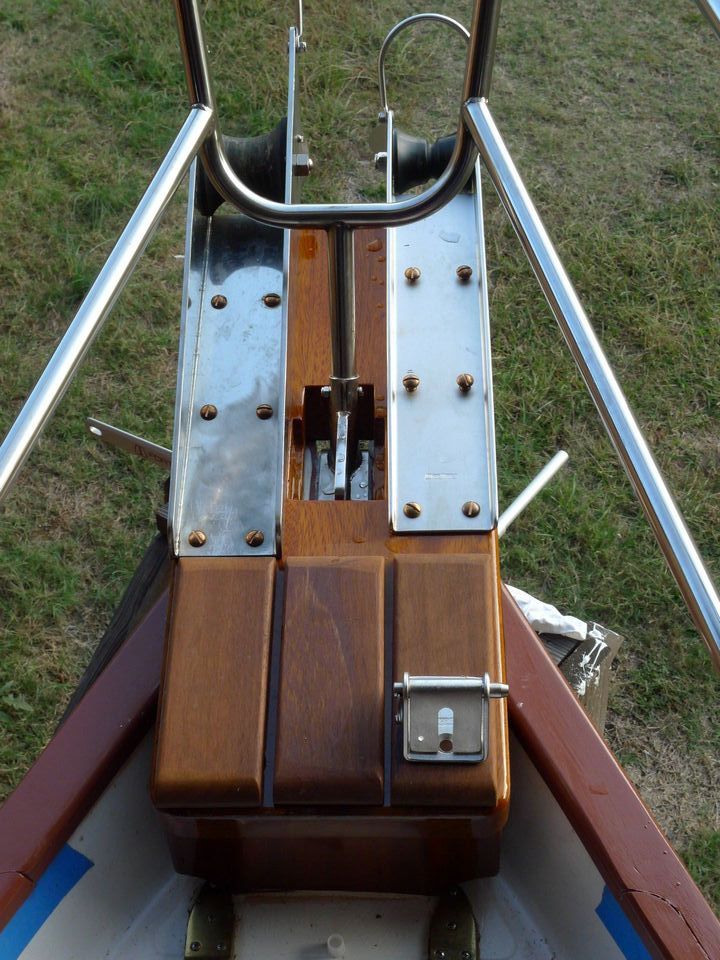
Closer view
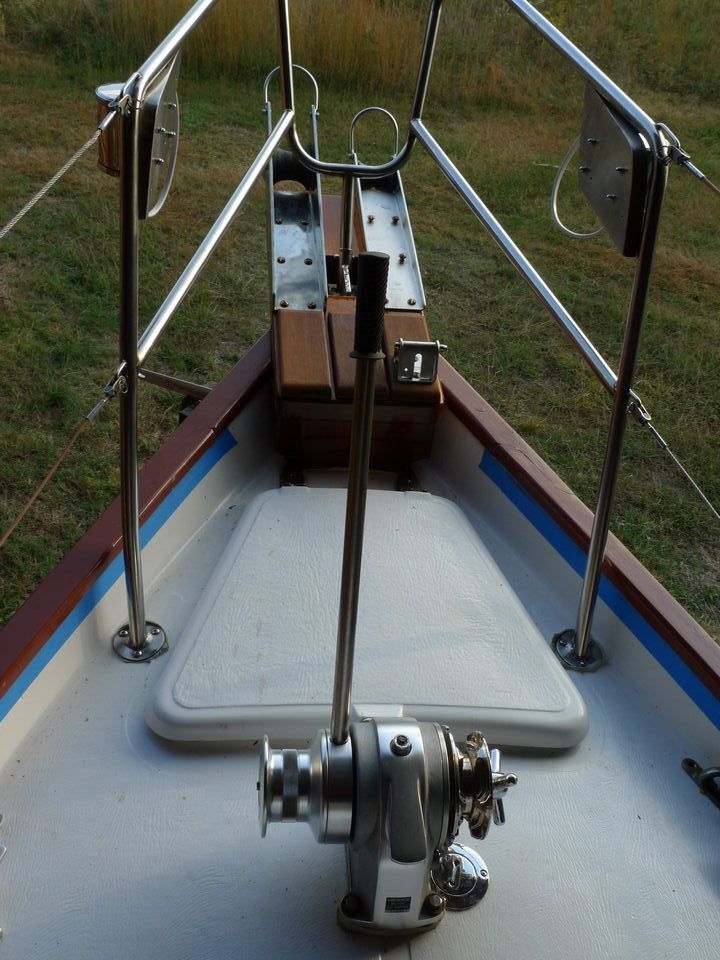
Windlass, and anhoring system.

1/2 inch thick G10 fiberglass backing plate for anchor platform bedded in epoxy/wood flour.
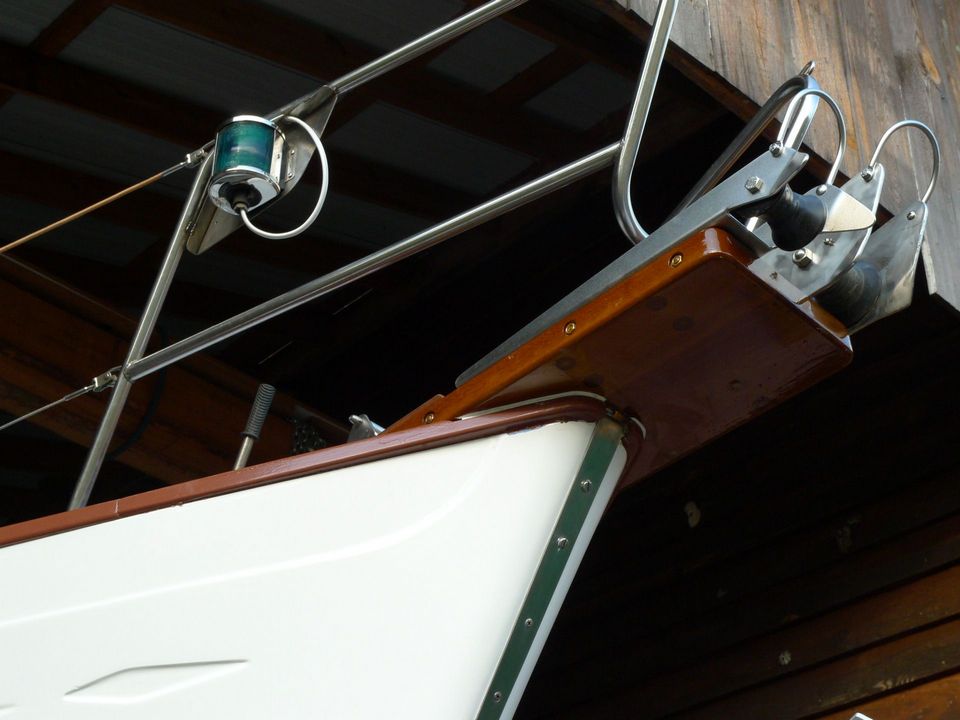
Stemhead fitting and anchor platform and pushpit.
Assembling
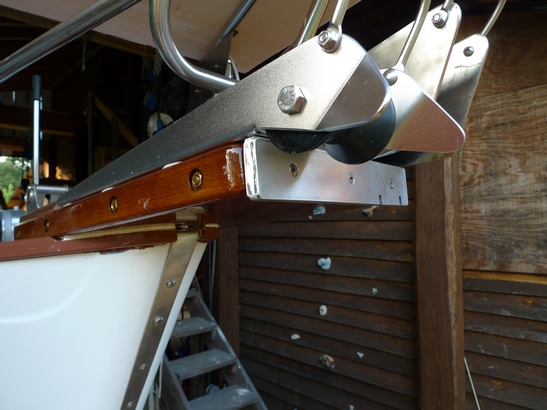
5-30-2012 I have been finishing up on the hardtop and windshield, installed the CapeHorn Windvane self steer gear, installed skenes, cutlass bearing, and various other items. I have ordered the engine and the sails and should have the boat in the water this Fall. My plan is to set sail next year if all is good with the family. Pictures below:
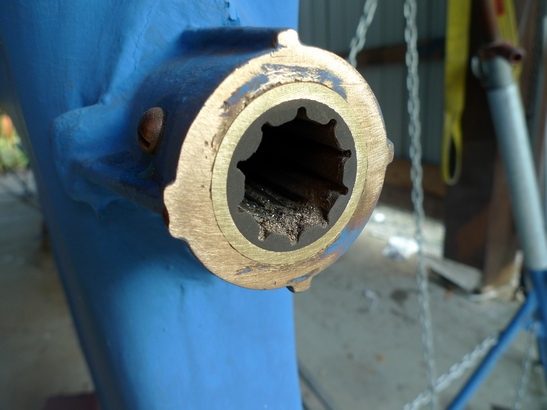
I replaced the old cutlass bearing with a nice new one in the 1 1/8 inch shaft diameter size. The outside diameter of the cutlass bearing is 1 3/4 inch outer diameter, which suprised me considering it was built in the land of metrics.
I added an aluminum plate to keep the anchors off the wood and also to hold the fortress anchor in place using two grooves I cut into the aluminum plate.
I installed the other anchor chain stop. Anchor system is COMPLETE.

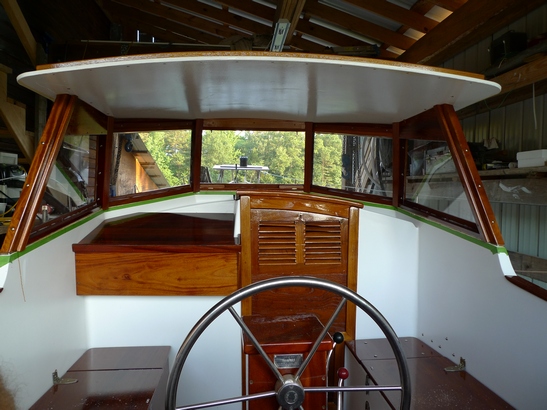
I finished the hardtop and windows. I trimmed out the exterior windows with teak and a little mulberry. If you don't know, mulberry looks very much like teak. I can't tell the difference and it is almost as rot resistant. It is just very hard to find. I milled these pieces myself from a tree in Little Rock.

Tiller handle made from cherry wood.
7-15-2012 Electronics, Self steer gear, and Engine
In the last few weeks I have been mounting electronics, getting the engine room ready for the engine, and installing the remainder of the Cape Horn self steer gear. Below are pics and desciptions of the work.
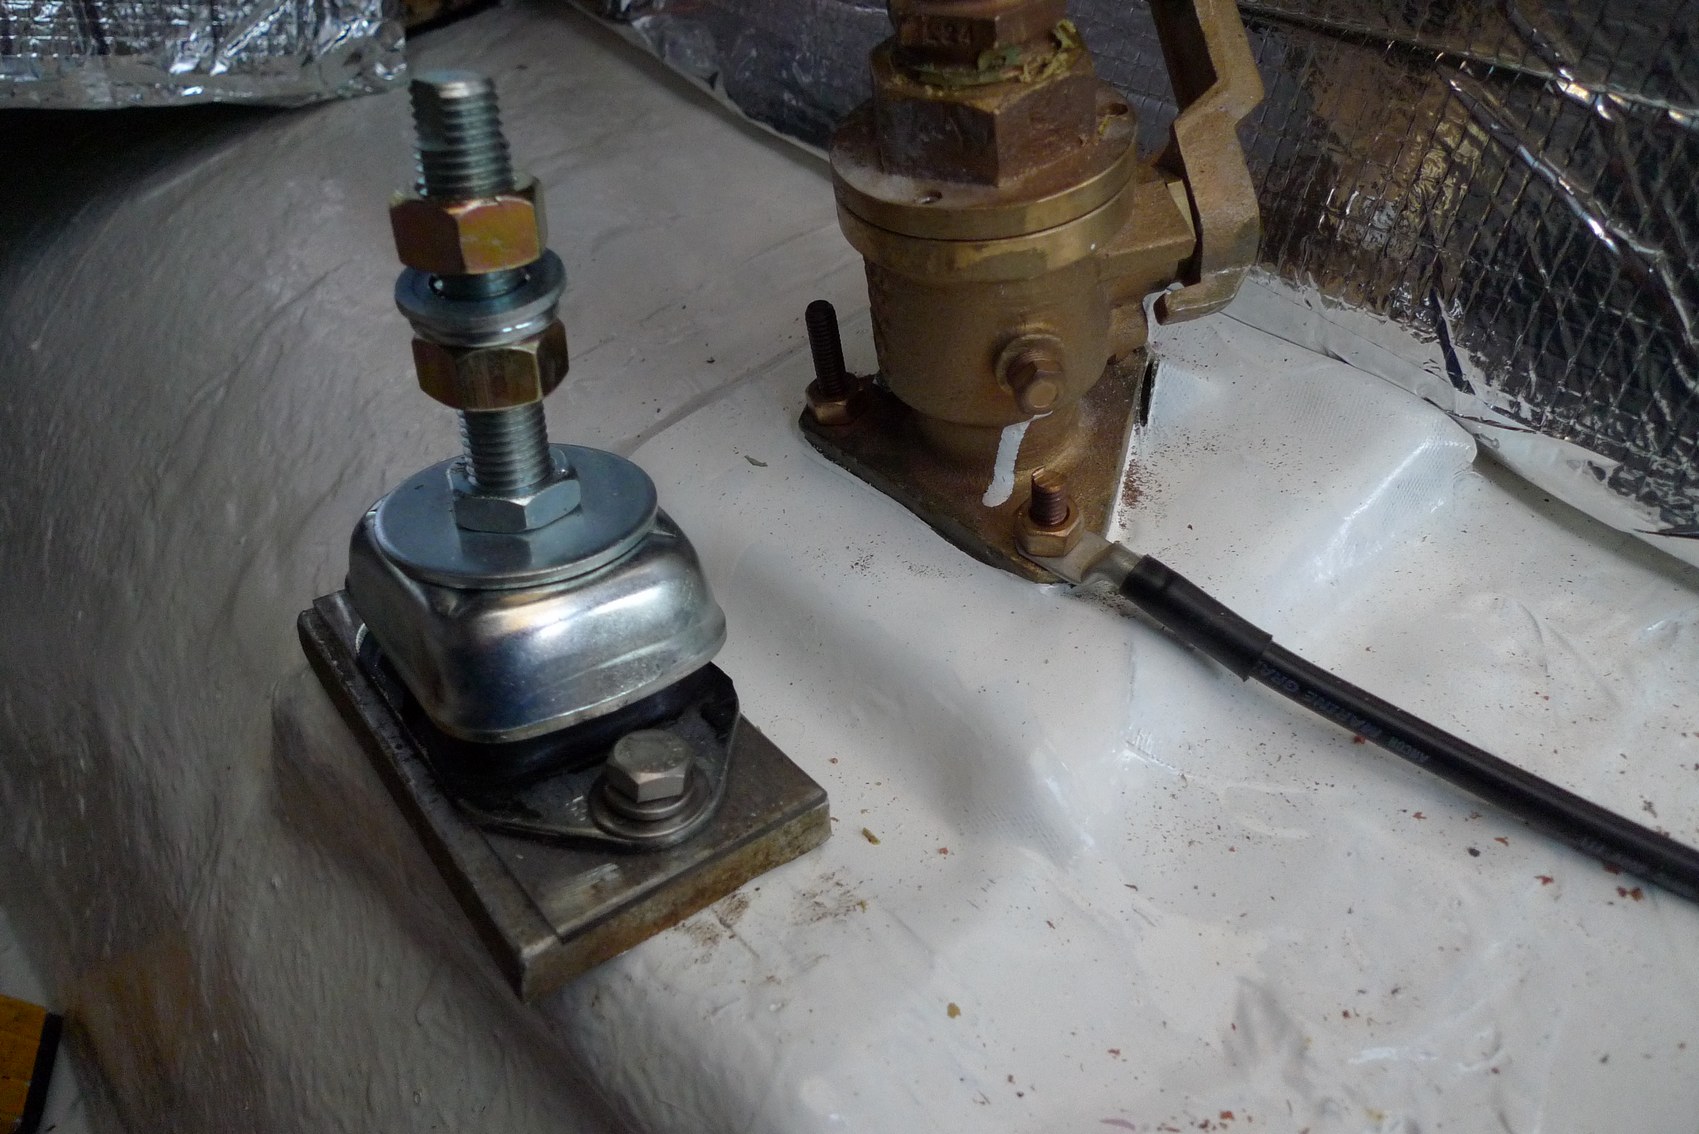
I have shimmed each engine mount with 1/2 inch thick plate of aluminum. I am "guessing" from the original equipment that the original engine mounts were thicker than the new ones. So to make the engine fit, I am hoping these shims will do the job. These shims will keep the engine lower on the mounting bolts as the instructions suggest.
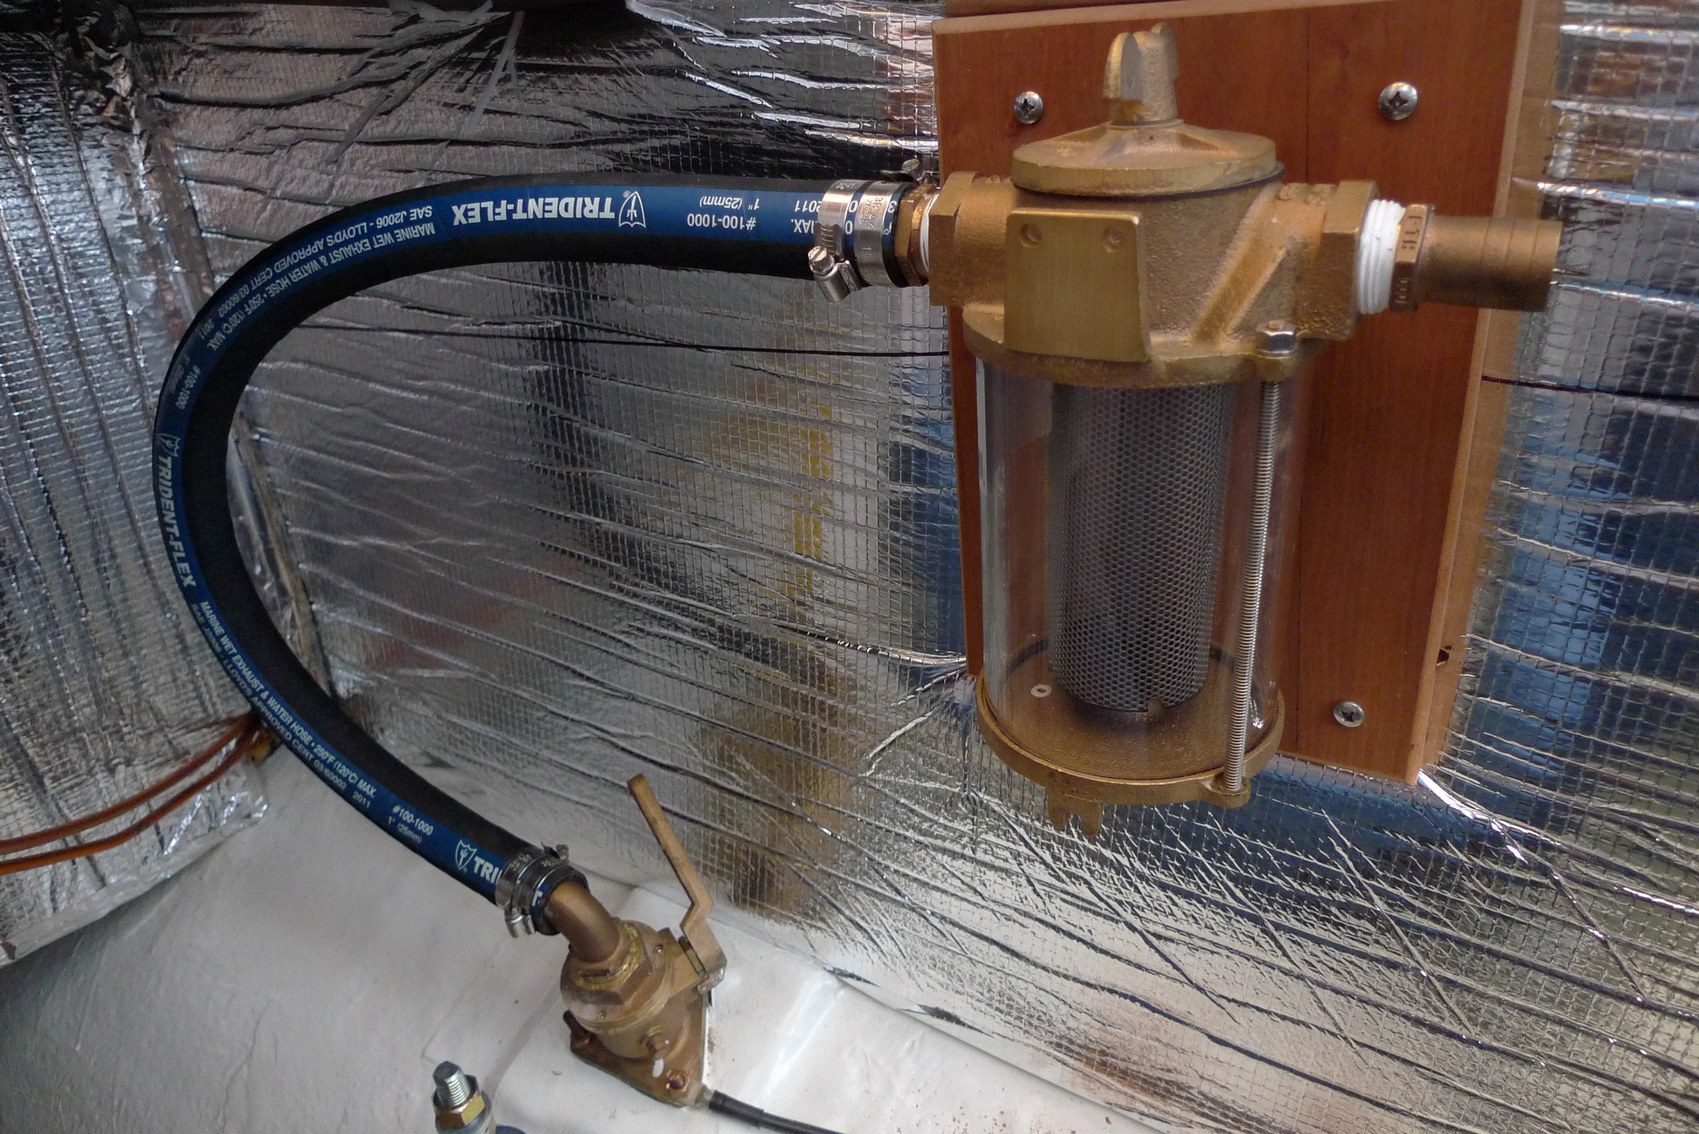
I installed the Groco raw water strainer over the newly installed sound proofing.
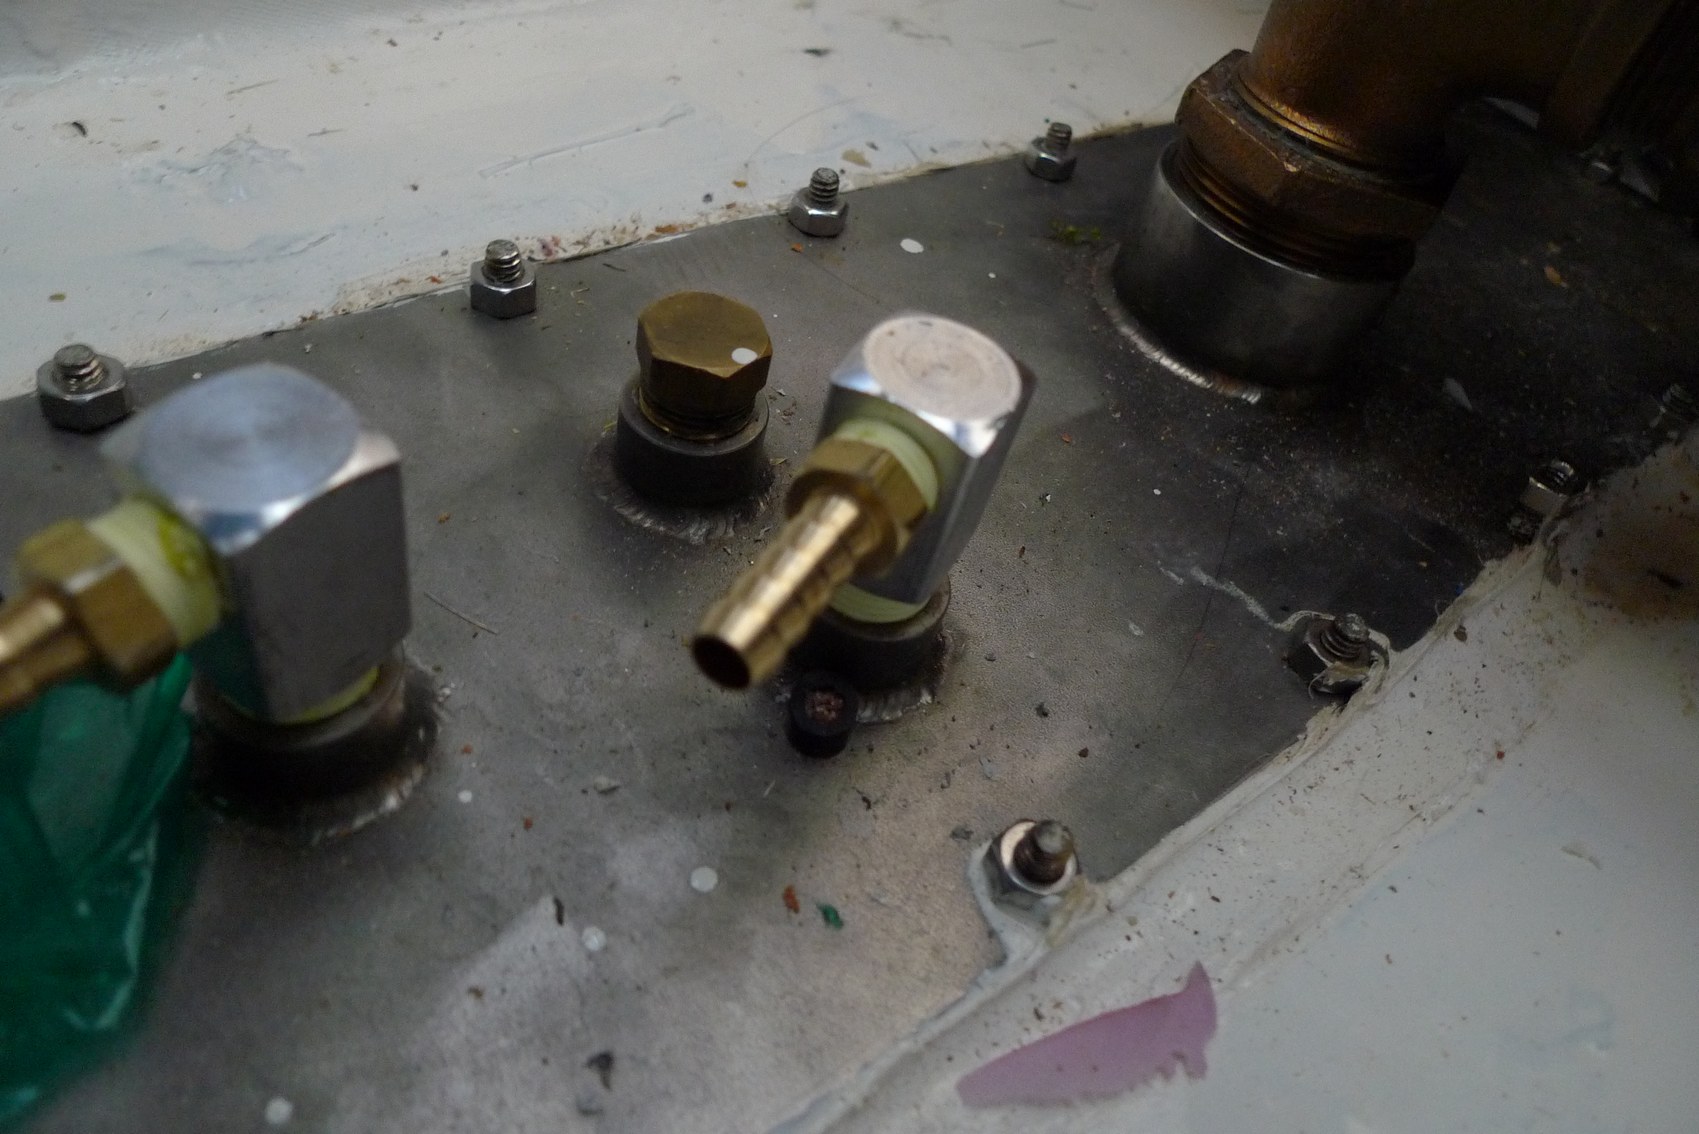
Installed new fuel lift tubes. I figure the old ones were at the end of their useful life and this was the best time to change them out.
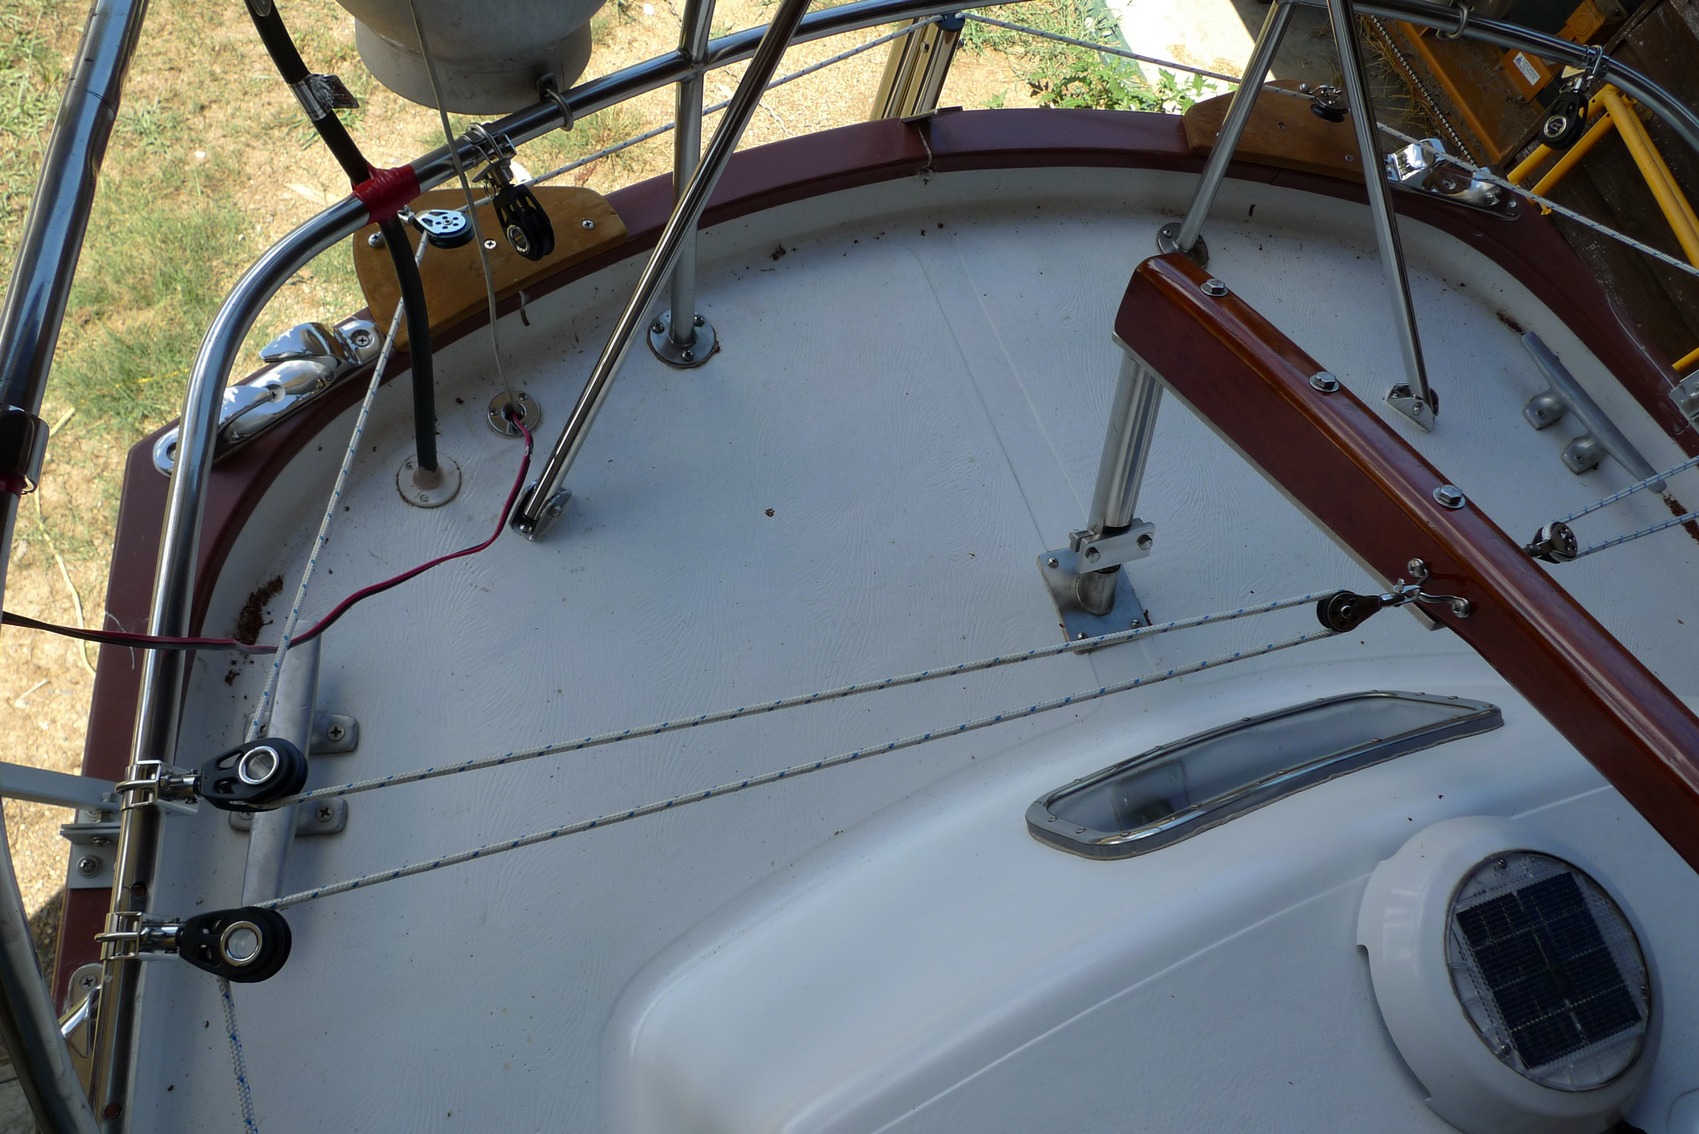
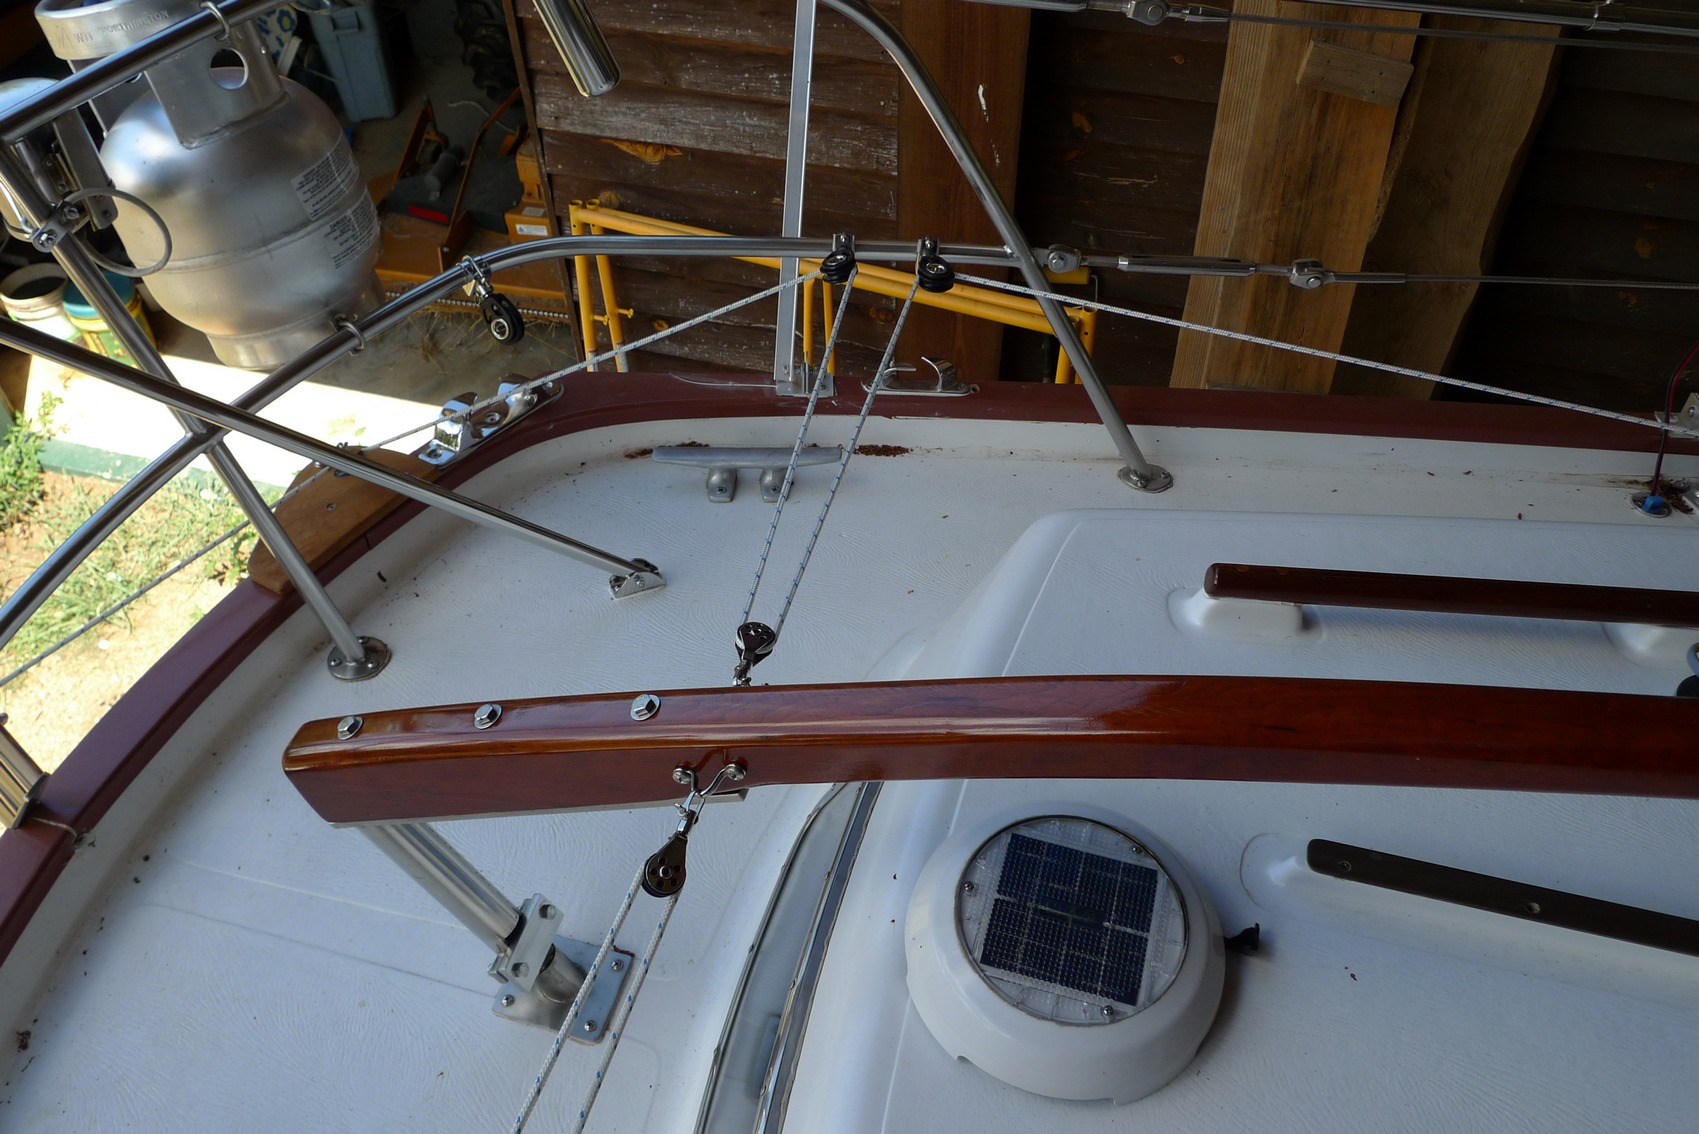 I finished running the rigging for the wind vane self steer gear.
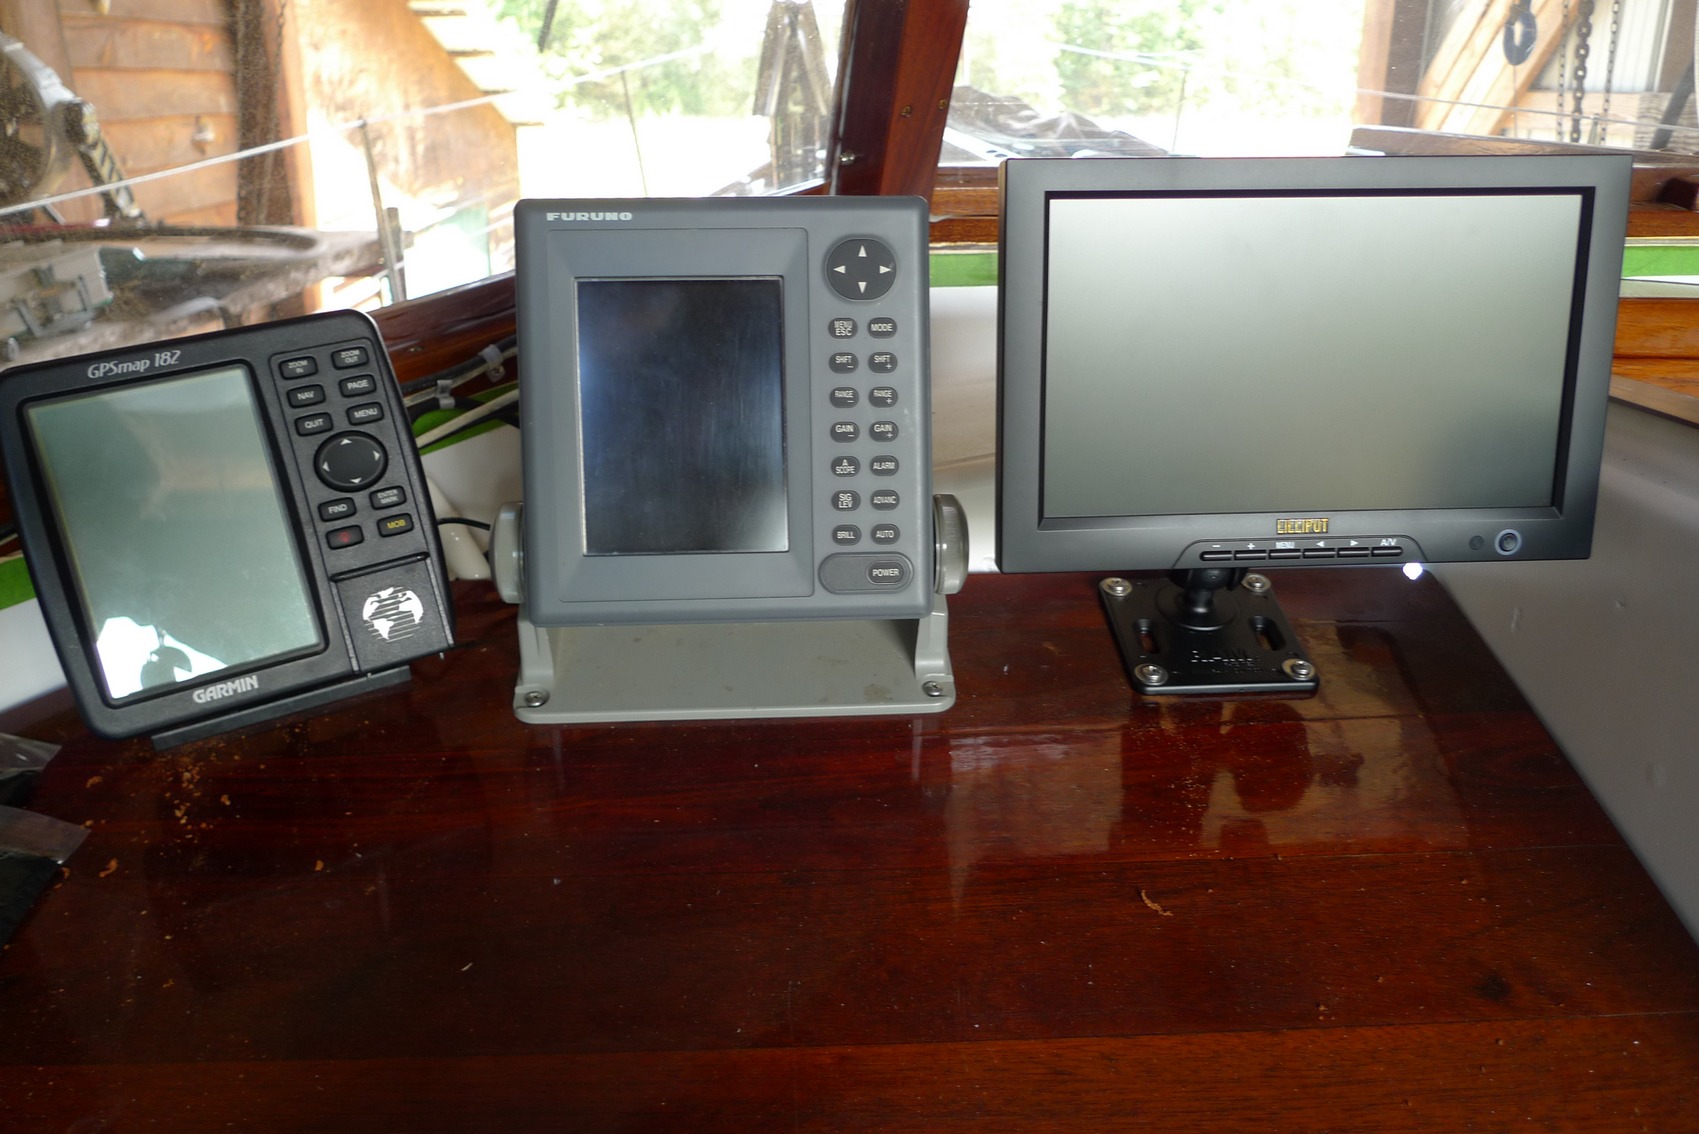
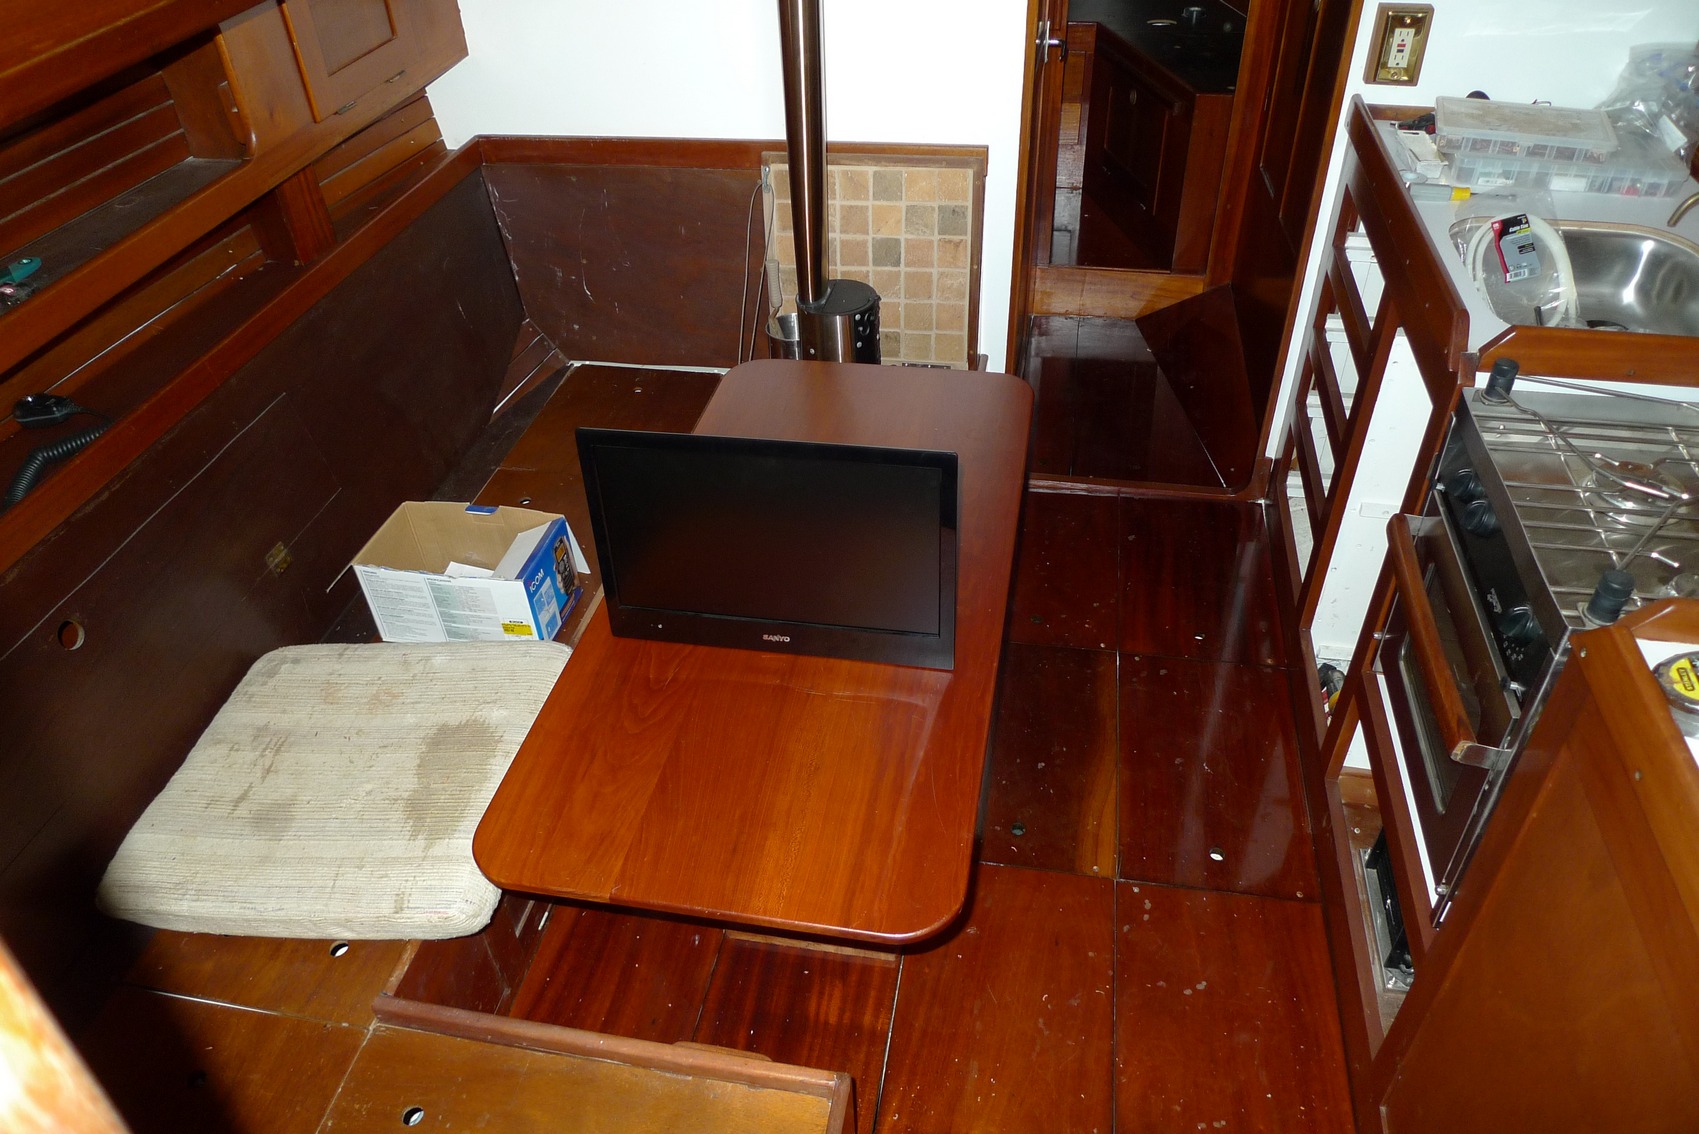
I used RAM mounts with VESA mounts to install monitors for my navigation computer. One monitor is on the galley table and another, a Lilliput field monitor, is installed in the cockpit. The Lilliput runs on less than 10 volts and can be hooked up directly to 12V system.

Every year a pair of house wrens nest in my boat. I have been careful to let them have thier way and raise the chicks safely. But today I had to move the nest which they built in a spot I had to work on. I moved it just 4 feet from its spot. When the couple returned, they gave me a serious talking to and flew away. I wondered if they would ever find the new location of the nest and felt bad about it. But within the hour they had located the nest and resumed their diligent lives as parents. Notice the beautiful arching entry way to the nest. I thought about naming the boat "Wren". This boat has been a shelter for about 20 little house wrens.